Follow Me On Social Media!
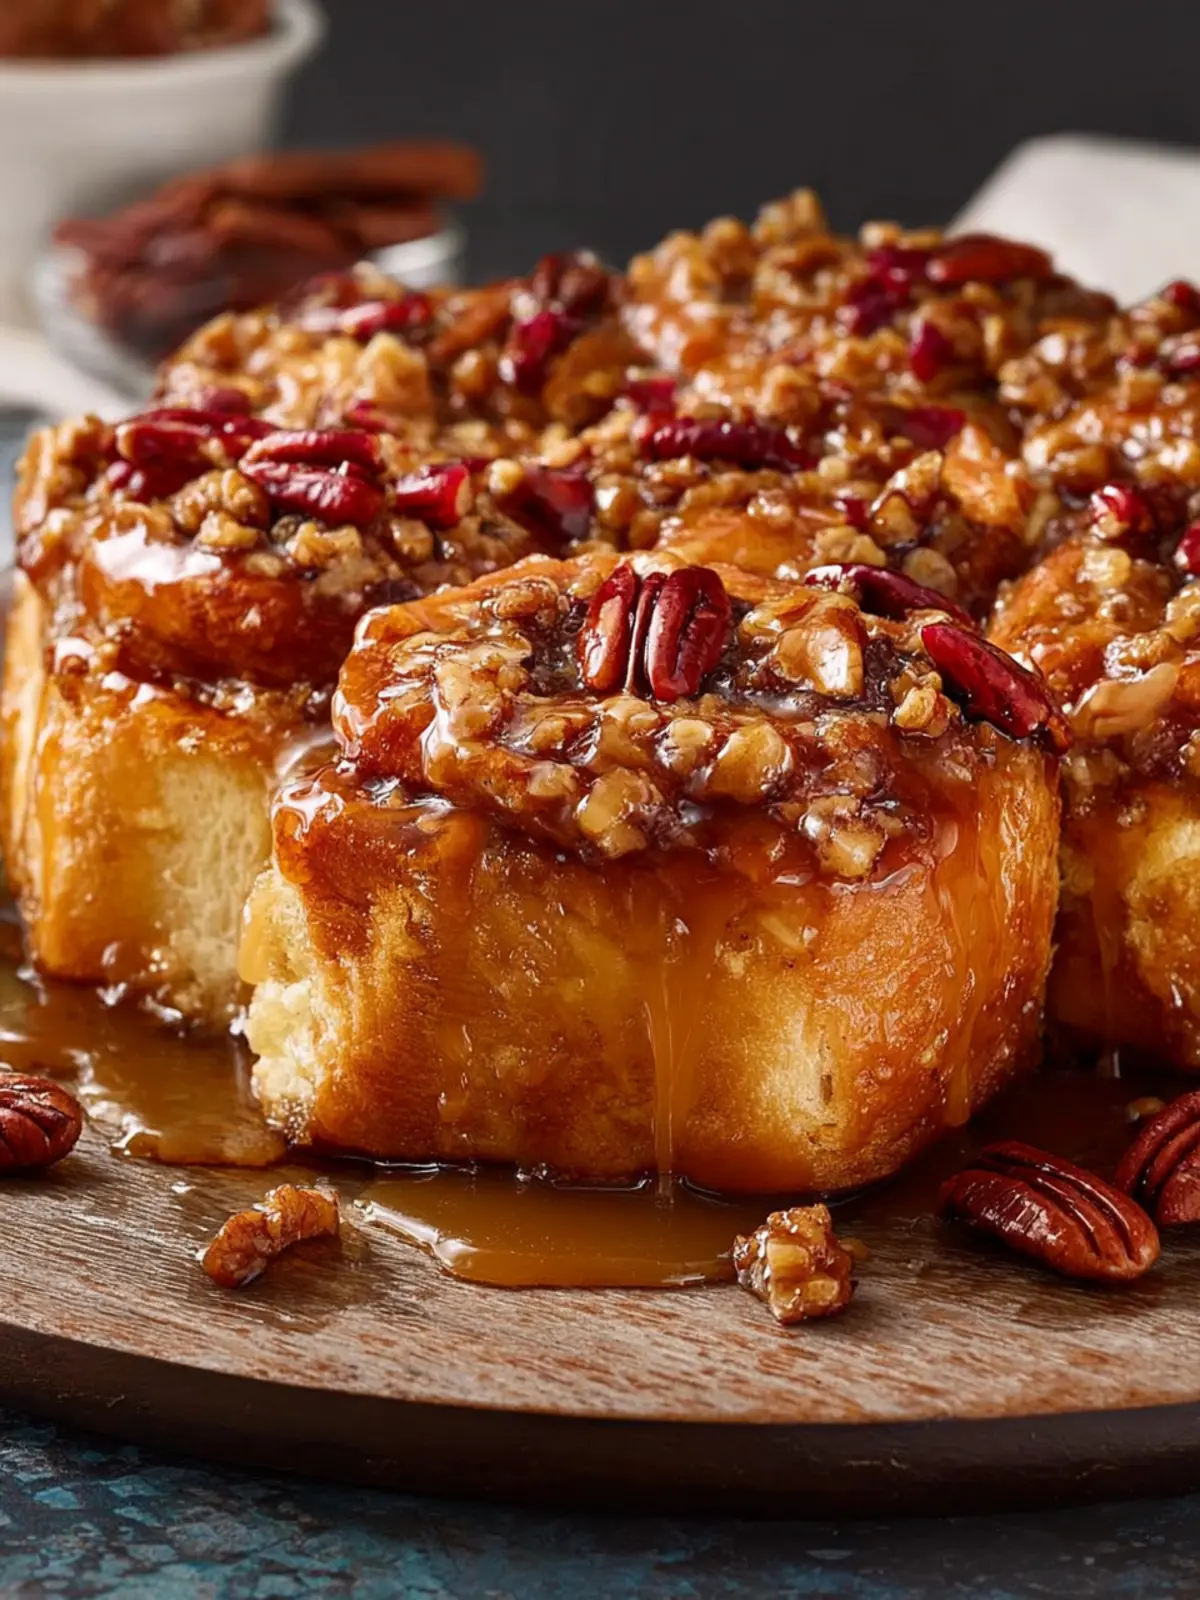
Sticky Buns That Melt in Your Mouth: An Indulgent Treat
Introduction to Sticky Buns
When you think about cozy mornings or special gatherings, it’s hard not to picture those sticky buns gently enveloped in their warm, gooey goodness. Originating from the delightful world of pastry, sticky buns are the ultimate comfort food, weaving nostalgia into each mouthful. Picture yourself waking up to a buttery aroma wafting through the kitchen, instantly transporting you to a carefree moment where every crumb is steeped in joy.
What makes sticky buns a beloved treat?
The magic behind sticky buns lies in their unique combination of flavors and textures that creates an irresistible treat. Here’s what sets them apart:
-
Rich Dough: The dough is often enriched with eggs and butter, resulting in a soft, pillowy texture that’s both fluffy and indulgent. It’s like a warm hug to start your day.
-
Sweet Toppings: Typically, sticky buns are crowned with a lavish layer of caramel made from brown sugar and butter. As they bake, this topping transforms into a shimmering glaze, creating that iconic sticky finish that is simply finger-licking good.
-
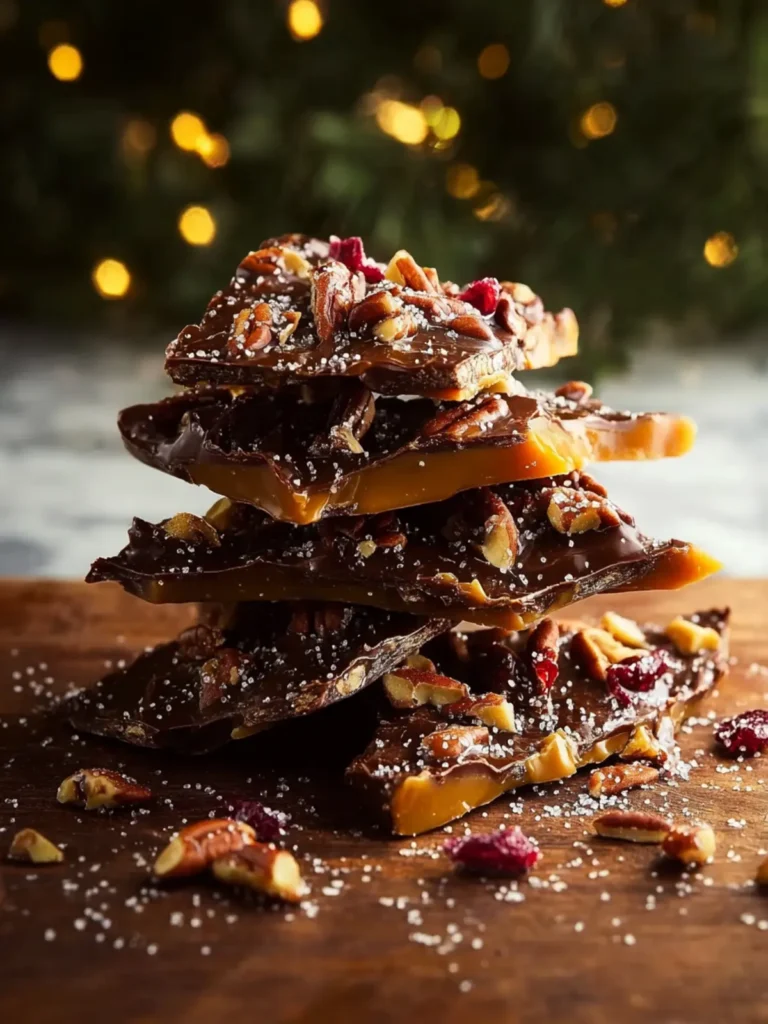
Nuts and Spice: Chopped nuts, like pecans or walnuts, add a delightful crunch, while spices such as cinnamon infuse warmth and coziness. This combination not only enhances flavor but also makes each bite an adventure in taste.
-
Versatile Variations: One of the best parts about sticky buns is their versatility. You can play around with fillings, adding chocolate, fruits, or even a touch of cream cheese for a twist. This adaptability ensures that everyone can find their perfect version.
-
Perfect for Sharing: Sticky buns are a communal treat, perfect for brunches or family gatherings. There’s something heartwarming about pulling a bun apart, sharing stories and laughter with loved ones as you savor each sticky, sweet bite.
Crafting these delights at home can be a rewarding experience, turning a regular day into something special. So, gather your ingredients and prepare to create a sensational batch of sticky buns that will leave your friends and family clamoring for more!
Key Ingredients for Sticky Buns
Creating the perfect batch of sticky buns involves a harmonious blend of key ingredients that work together to deliver that signature gooeyness and sweetness. Each ingredient plays a vital role in crafting these irresistible treats.
Dough: The heart of any sticky bun is its dough. I recommend using all-purpose flour for a tender texture. You might also consider bread flour for a chewier bite if that’s your style.
Butter: Buttery goodness is essential! You’ll use melted butter in the dough for richness and more to create that delicious caramel layer at the bottom. It’s the secret to a beautifully glazed bun.
Brown Sugar: Choose dark brown sugar for the sticky topping—it provides a deeper flavor and enhances that caramelization effect. This is what makes each bite heavenly.
Cinnamon: A generous sprinkle of ground cinnamon gives sticky buns their warm, aromatic essence. It’s a classic touch that can’t be skipped.
Nuts: While not mandatory, I love adding chopped pecans or walnuts for added crunch and richness. They elevate both flavor and texture.
With these ingredients, your journey to homemade sticky buns will be not just a recipe, but a delicious memory in the making.
Why You’ll Love This Sticky Buns Recipe
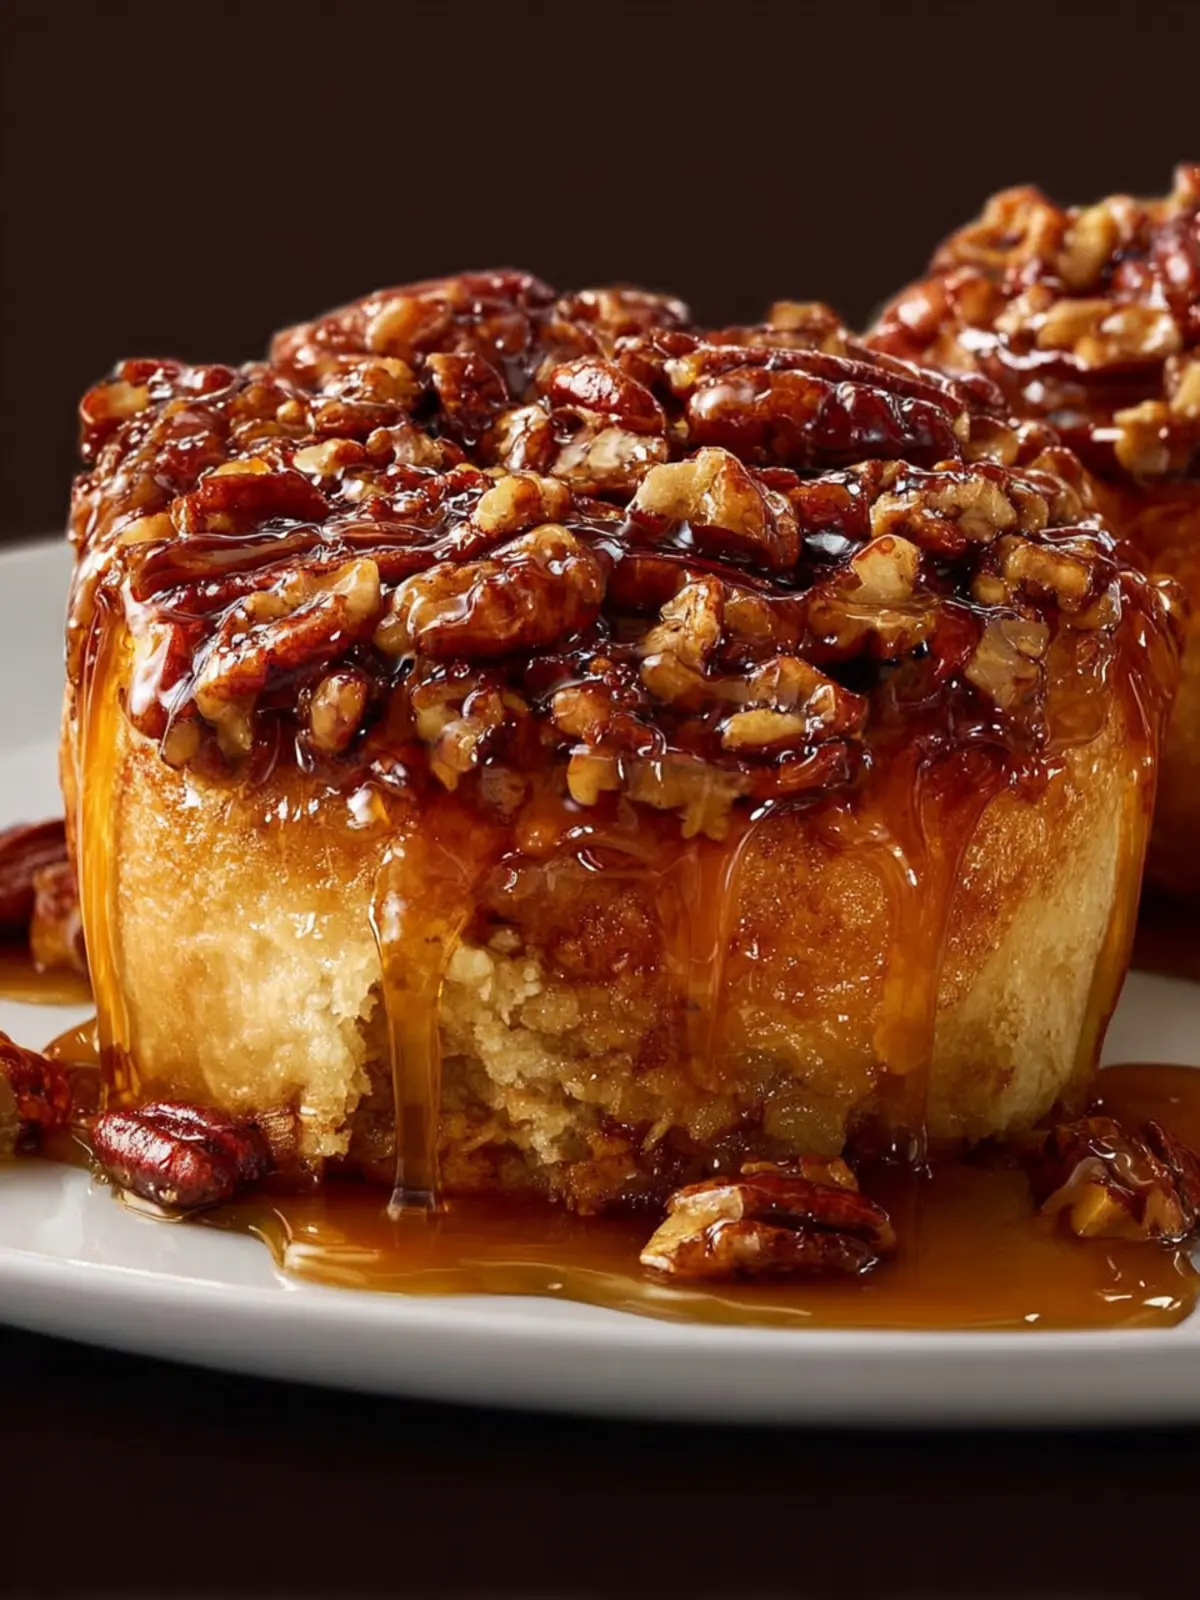
Dive into the world of sticky buns, and you’ll soon discover why they’re a beloved treat in many households. These exquisite rolls are not just a dessert; they’re a celebration of flavors and textures, making them perfect for any occasion. Imagine pulling apart warm, gooey buns, each bite featuring a delightful blend of cinnamon, brown sugar, and buttery dough. The irresistible aroma that fills your kitchen will have everyone flocking to the table, eager to indulge.
Here are a few reasons you’ll adore this sticky buns recipe:
-
Comfort Food: Nothing says “home” quite like sticky buns. Their warmth and sweetness make them the ideal comfort food for cozy mornings or festive gatherings.
-
Versatility: While traditional recipes are fantastic, this sticky buns recipe allows for customization. You can throw in nuts, dried fruit, or even a drizzle of cream cheese icing to suit your cravings.
-
Memorable Moments: Baking these buns is not just about the end result; it’s about the experience. Gather your friends or family, and make it a fun, bonding activity that can create lasting memories.
Once you start making these delightful sticky buns, you’ll find them becoming a regular feature in your culinary repertoire!

Tips for Making Perfect Sticky Buns
Creating sticky buns is like a warm hug for your taste buds. These delightful, gooey treats can bring a sense of nostalgia as they transport you back to your favorite brunch spots or family gatherings. Here are some essential tips to help you master the art of making sticky buns that will have everyone asking for seconds.
Choose the Right Ingredients
- Fresh Yeast: Using fresh yeast can make a notable difference in the texture and flavor of your buns. If possible, opt for active dry or fresh yeast to achieve a light and airy dough.
- High-Quality Butter: This is crucial for that rich, buttery flavor. Don’t skimp on quality here; it makes all the difference in your sticky bun experience.
Master the Dough
- Knead Intensively: Aim for a smooth and elastic texture by kneading the dough for at least 8-10 minutes. A well-kneaded dough ensures that your sticky buns rise beautifully.
- Don’t Rush the Rise: Allow your dough ample time to rise. This can take about 1-2 hours, depending on the temperature. A slow, steady rise allows for better flavor development.
Perfecting the Topping
- Go Heavy on the Glaze: Ensure your glaze is thick and rich. A mixture of brown sugar, butter, and a hint of cream will achieve the desired sticky goodness.
- Add Nuts for Crunch: Consider incorporating chopped pecans or walnuts for an added texture that complements the gooey buns beautifully.
Bake to Perfection
- Use the Right Pan: A metal or glass baking dish will ensure even cooking. Avoid using non-stick pans, as they might not create the sought-after caramelization.
- Watch the Time: Begin checking your sticky buns around the 30-minute mark. You want them golden brown but not overly darkened.
With these tips in your back pocket, you’re well on your way to creating sticky buns that will impress both yourself and your guests!
Time Breakdown for Sticky Buns
Creating sticky buns is an exciting culinary adventure, and understanding the timeline helps you plan the perfect bake day. Here’s a helpful time breakdown to guide you through the process.
Preparation Time
Getting started with your sticky buns will take about 30 minutes. This is when you mix the dough, prepare the filling, and get everything ready for the first rise.
Rising Time
Allow your sticky buns to rise for about 1 to 1.5 hours. This crucial step lets the dough develop flavor and texture, so don’t skip it!
Baking Time
Once your buns have risen, bake them for 25 to 30 minutes. Keep a close eye on them towards the end for that perfect golden-brown finish.
Total Time
From start to finish, you’re looking at approximately 2 to 2.5 hours — well worth the wait for the deliciousness that’s about to come!
Nutritional Facts for Sticky Buns
Let’s take a closer look at the nutritional facts for sticky buns, ensuring you can enjoy these delightful treats guilt-free!
Calories
Each sticky bun offers a sweet indulgence, coming in at approximately 320 calories. This treat is more than just a dessert – it’s the perfect balance of flavor and satisfaction for your taste buds.
Protein
With about 6 grams of protein per bun, these sticky delights provide a little boost to help you power through your day. They can be part of your breakfast or a mid-morning snack, keeping you energized!
Sodium
Caution is key when enjoying sticky buns, as each one contains around 250 milligrams of sodium. Moderation helps ensure you savor the sweet sticky goodness without any worries.
No matter how you enjoy sticky buns, these nutritional insights help you incorporate this delightful recipe into your daily routine while keeping your health in mind!
FAQs About Sticky Buns
Sticky buns are the kind of delightful treats that can turn an ordinary day into something special, creating memories packed with sweet goodness. If you’re preparing to make these soft, gooey rolls, you might have a few questions swirling around in that delicious mind of yours. Let’s dive into some frequently asked questions about sticky buns!
What’s the best way to store sticky buns?
To keep your sticky buns fresh and delicious, it’s best to store them at room temperature in an airtight container. They can stay good for about three days this way. If you have some left over and want to keep them longer, consider wrapping them tightly in plastic wrap and placing them in the freezer for up to three months. Just be sure to thaw them in the fridge the night before you plan to enjoy them!
Can I make sticky buns in advance?
Absolutely! Making sticky buns in advance can save you time, especially during busy mornings or special occasions. You can prepare the dough and shape the buns, then store them in the refrigerator overnight. When you’re ready to bake, simply take them out, let them rise for about 30 minutes, and pop them in the oven. Freshly baked sticky buns await you without the hassle of starting from scratch in the morning.
How do I prevent sticky buns from getting too soggy?
Soggy sticky buns can dampen the sweet experience you’re hoping for. To avoid this, be sure not to over-proof your dough. Additionally, ensure that your caramel mixture isn’t too watery—balance your sugar and butter ratio. Finally, if you’re storing your buns after baking, let them cool completely before sealing them up to prevent excess moisture buildup. These simple steps will keep your sticky buns perfectly moist without the sogginess.
With these tips in your back pocket, you’re well-equipped to create the ultimate batch of sticky buns! Happy baking!
Conclusion on Sticky Buns
Creating sticky buns is more than just following a recipe; it’s about igniting warmth and comfort in your kitchen. The delightful aroma of cinnamon and caramel fills the air, urging everyone to gather around and savor the moment together. There’s nothing quite like pulling apart the soft, gooey layers, revealing their sweet secrets. Whether enjoyed during a leisurely brunch or as an indulgent treat after dinner, these sticky buns are a perfect way to elevate any occasion. I hope this recipe inspires you to bring a bit of joy into your home—because who doesn’t deserve a little sweetness in their life?
Print
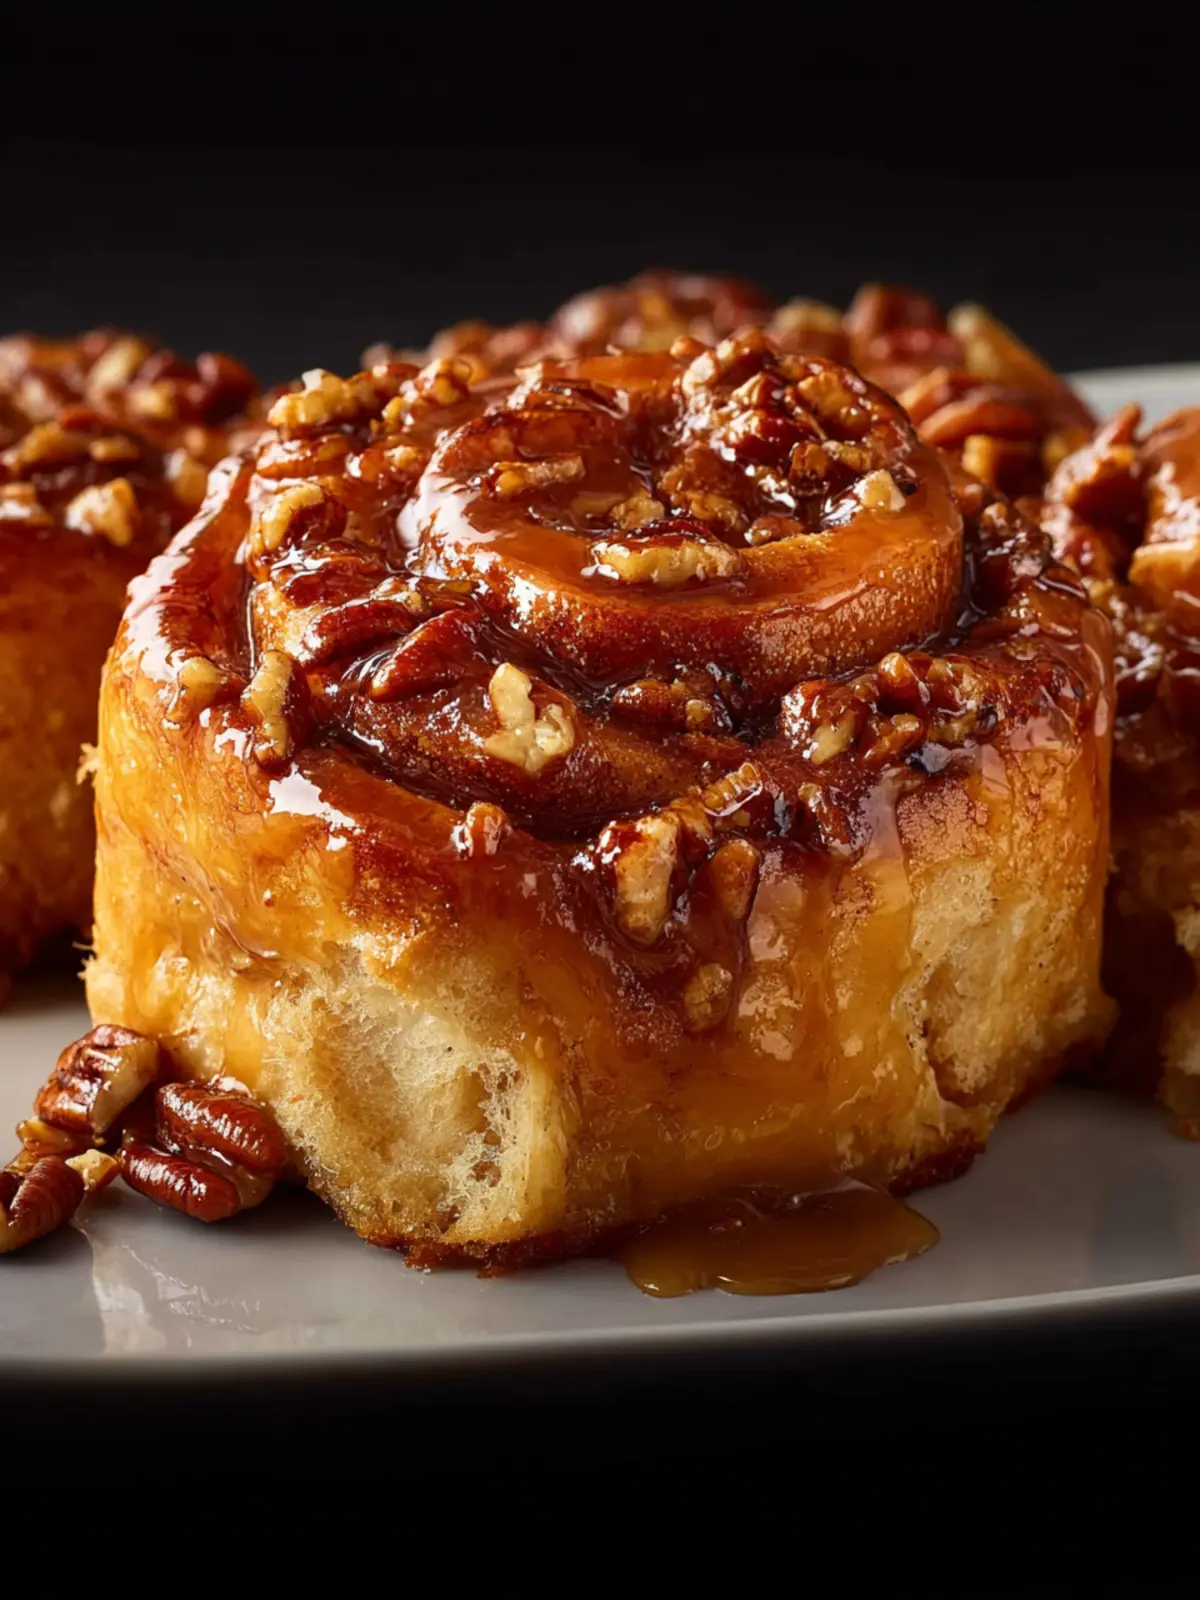
Pecan Cinnamon Rolls
- Total Time: 2 hours 30 minutes
- Yield: 12 rolls 1x
- Diet: Vegetarian
Description
A delicious recipe for soft pecan cinnamon rolls topped with a gooey pecan topping.
Ingredients
Scale
- 1 cup warm milk (100-110°F) (240mL)
- ½ cup granulated sugar (divided) (100g)
- 1 (¼ ounce/7g) package active dry yeast (2¼ teaspoons)
- 6 tablespoons unsalted butter (melted and cooled slightly, plus more for the pan) (85g)
- 1 large egg (room temperature)
- 2 large egg yolks (room temperature)
- 1 teaspoon salt
- 1 teaspoon vanilla extract
- 4 cups all-purpose flour (divided) (480g)
- Optional: Zest of 1 orange
- 1½ cups coarsely chopped pecans (180g)
- ¾ cup packed light brown sugar (165g)
- ½ cup unsalted butter (113g)
- ¼ cup honey (60ml)
- ½ teaspoon salt
- ½ cup packed light brown sugar (110g)
- 2 teaspoons ground cinnamon
- 4 tablespoons unsalted butter (melted) (70g)
Instructions
- In the bowl of a stand mixer, stir together the warm milk, ¼ cup (50g) sugar and the yeast. Cover and set aside for 5-7 minutes or until foamy.
- Once the yeast is foamy, add the melted butter, egg, egg yolks, vanilla, and remaining ¼ cup (50g) sugar to the yeast and whisk together. Add half the flour (2 cups/240g) and whisk to combine.
- Add the remaining 2 cups of flour and attach the dough hook. If desired, add in the orange zest as well. Mix on medium speed for about 5 minutes or until the dough comes together. (The dough should feel moist and sticky, but you can add a bit of flour if it seems wet.) Transfer dough to a floured surface and knead until it’s smooth and elastic, about 2 minutes. The dough should bounce back when pressed with a finger.
- Place the dough in a lightly buttered bowl, then cover with plastic and place in a warm place to rise for 1½ to 2 hours, until doubled in size.
- While the dough rises, prepare the topping. Lightly grease a 9×13-inch baking pan with butter.
- In a small saucepan, combine the butter, brown sugar, honey, and salt. Cook over medium-low heat, stirring occasionally, until the butter is melted and the sugar has dissolved, about 5 minutes. Immediately pour the topping into the prepared pan. Sprinkle the chopped pecans evenly over top.
- Once the dough has risen, transfer it to a floured surface (I like to use a pastry mat), then gently spread it out into a rectangular shape that’s roughly 12×18 inches. (If needed, use a rolling pin to spread and level the dough.)
- In a medium bowl, combine brown sugar and cinnamon, then whisk together. Brush the dough with melted butter, then sprinkle the cinnamon sugar evenly over the top, spreading it into an even layer with your hand, if needed.
- Starting at the long end closest to you, roll up the dough towards the other long end, forming a tight log. Cut into 12 equal pieces, (about 1½ inches wide) using unflavored dental floss or a sharp serrated knife.
- Place the rolls cut side down and evenly spaced apart in the prepared baking dish on top of the pecan mixture. Loosely cover the dish and let the rolls rise in a warm place until almost doubled in size, about 1 hour.
- After the dough has risen for 40 minutes, preheat the oven to 375°F. Bake for about 35 minutes or until golden or until golden brown, tenting with foil after 15 minutes to prevent the tops from taking on too much color.
- Allow to cool in the pan for 2 to 3 minutes just until the edges stop bubbling, then run a knife along the edge of the pan and invert onto a serving dish and serve warm.
Notes
- Ensure the milk is warm but not too hot to activate the yeast.
- These rolls are best served fresh and warm from the oven.
- You can refrigerate any leftover rolls, but they are best consumed within a few days.
- Prep Time: 20 minutes
- Cook Time: 35 minutes
- Category: Dessert
- Method: Baking
- Cuisine: American
Nutrition
- Serving Size: 1 roll
- Calories: 300
- Sugar: 15g
- Sodium: 250mg
- Fat: 12g
- Saturated Fat: 7g
- Unsaturated Fat: 3g
- Trans Fat: 0g
- Carbohydrates: 42g
- Fiber: 1g
- Protein: 5g
- Cholesterol: 35mg