Follow Me On Social Media!
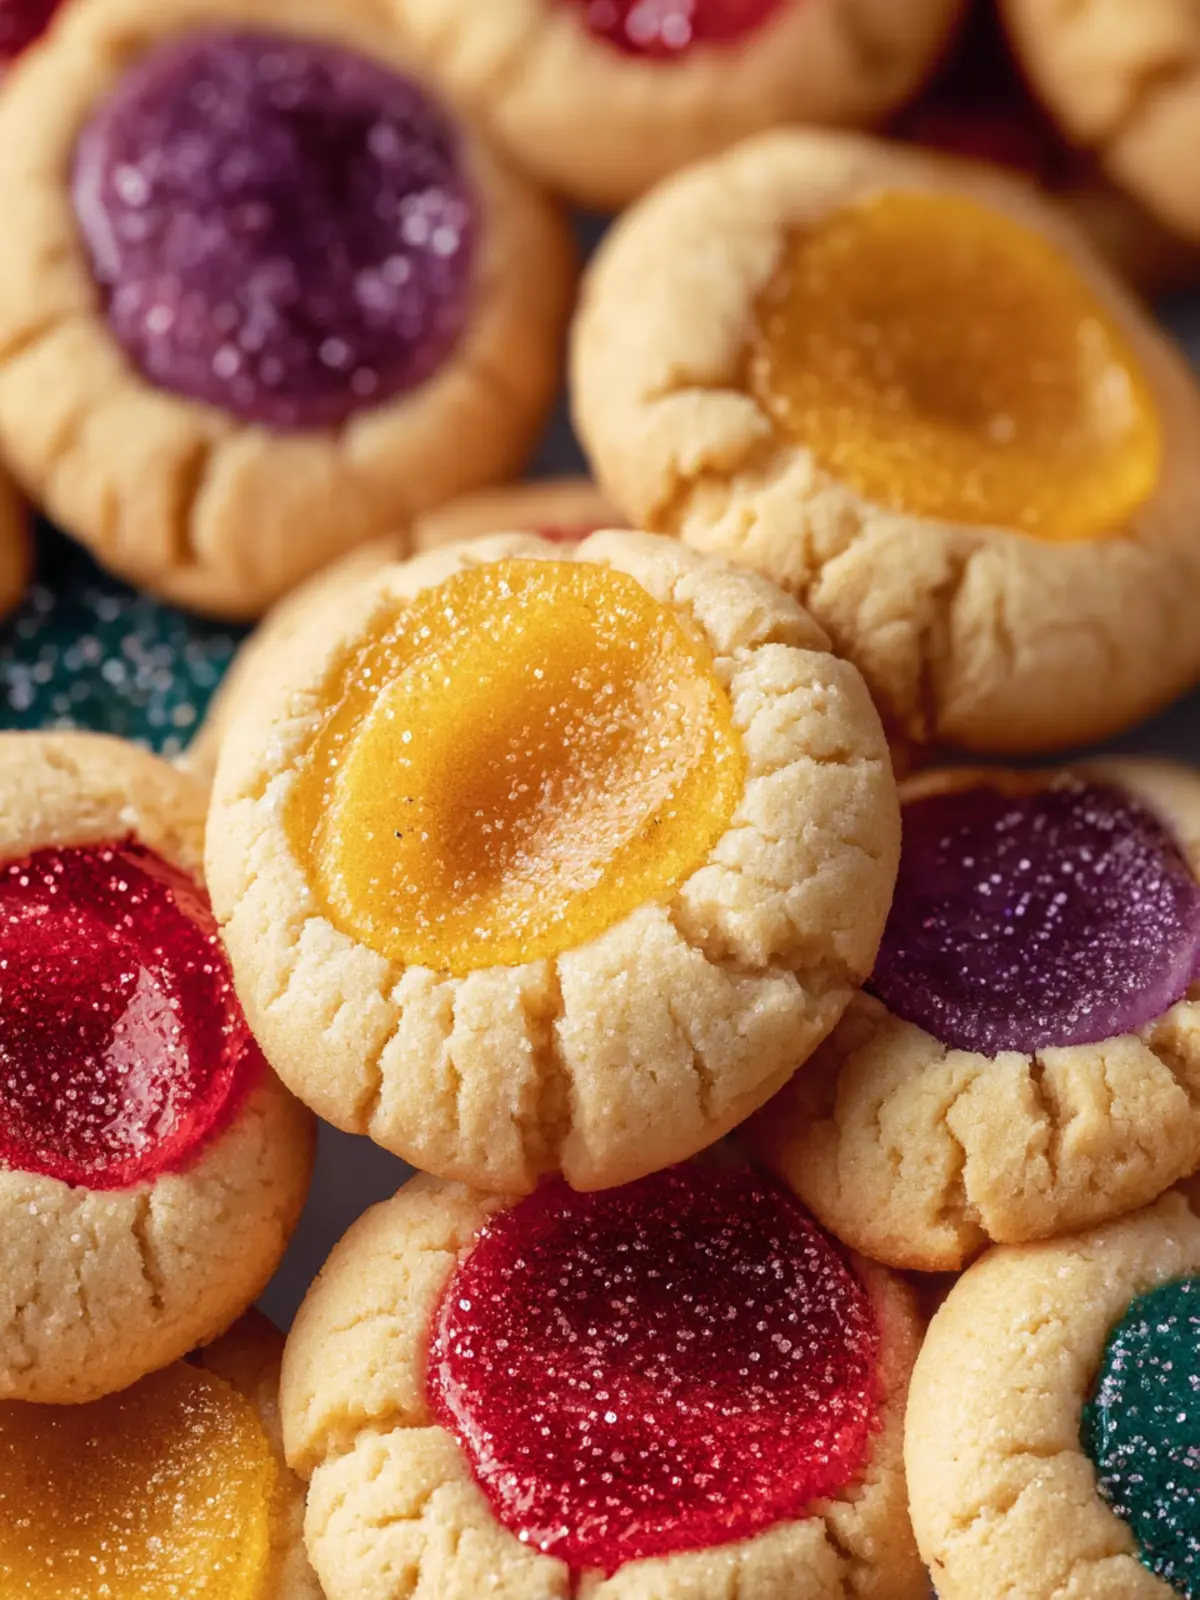
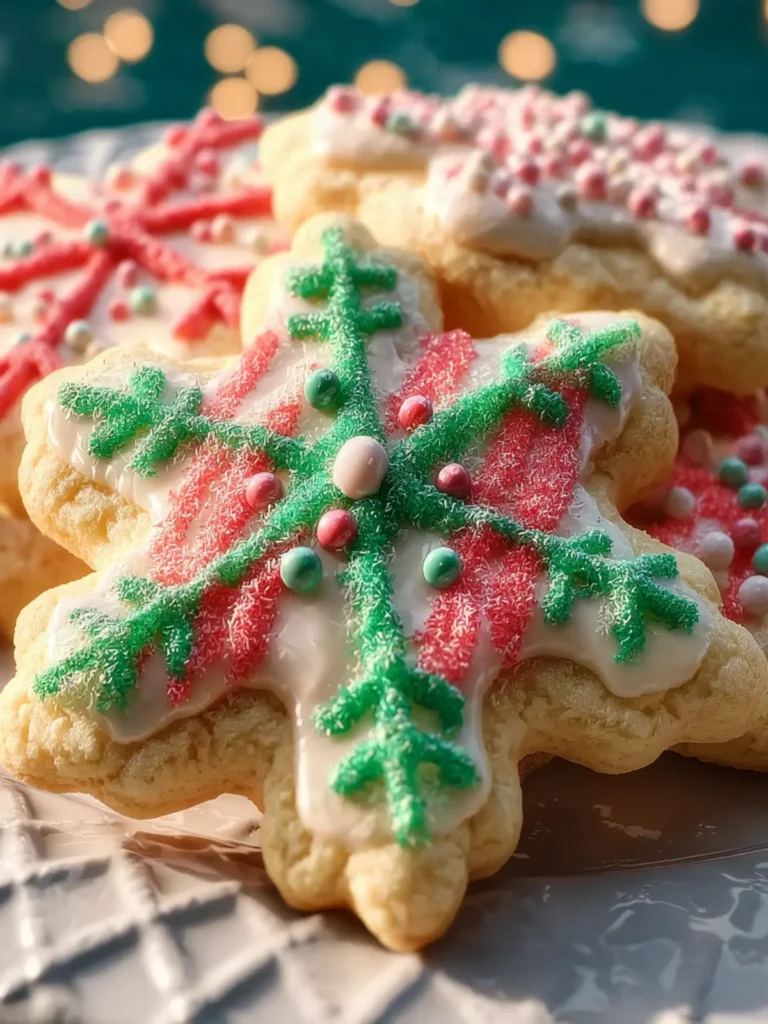
Thumbprint Cookies: Irresistibly Sweet and Easy to Make!
Introduction to Thumbprint Cookies
There’s something irresistibly charming about thumbprint cookies that evokes a sense of nostalgia, reminding us of afternoons spent in the kitchen with family members. Picture this: you walk into a warm, inviting kitchen, and the tantalizing aroma of buttery cookies mingles with sweet fruit preserves fills the air. It’s an experience that captures the heart, don’t you think? These delightful treats carry not just flavor but also cherished memories, connecting us to loved ones and traditions through each bite.
Baking has a unique way of bringing people together. Whether it’s the gentle hum of laughter or the delightful chaos of little hands helping to mix ingredients, the magic of creating something sweet is truly special. Thumbprint cookies, with their distinctive shape and vibrant centers, are perfect for such moments. They invite creativity—use your favorite jam or even chocolate ganache to create a filling that showcases your personal touch.
What makes thumbprint cookies so appealing is not just their delicious flavor, but also their simplicity. With a handful of ingredients and a few straightforward steps, you can whip up a batch that’s perfect for gatherings or quiet evenings at home. They can be beautifully decorated for holidays or made into a sweet surprise for friends. There’s a reason these cookies have stood the test of time!
As you embark on this baking adventure, think about the possibilities. How will you personalize your thumbprint cookies? Will you experiment with flavors, like tangy raspberry or rich almond? This is your chance to explore creativity while creating a treat that’s sure to delight anyone who gets a taste.
So, let’s gather our ingredients, preheat the oven, and dive into this delightful recipe for thumbprint cookies. Prepare to create delicious memories as you savor the process and enjoy the scrumptious outcome!
Key Ingredients for Thumbprint Cookies
Creating the perfect thumbprint cookies is all about selecting high-quality ingredients that come together to give these treats their delightful flavor and texture. Let’s break down the essentials you’ll need.
Butter: The heart of any great cookie, I use unsalted butter for that creamy richness. Make sure it’s softened to room temperature for easy mixing, which helps to create a tender cookie that melts in your mouth.
Sugar: A mix of granulated and powdered sugar works wonders. The granulated sugar adds a bit of crunch, while the powdered sugar contributes to that melt-in-your-mouth experience — the perfect combination!
Flour: All-purpose flour is my go-to here. It provides structure without weighing the cookies down. If you prefer a gluten-free option, just swap in a 1:1 gluten-free flour blend.
Egg Yolk: Using just the yolk ensures your cookies remain rich and moist, giving them that soft center without drying out.
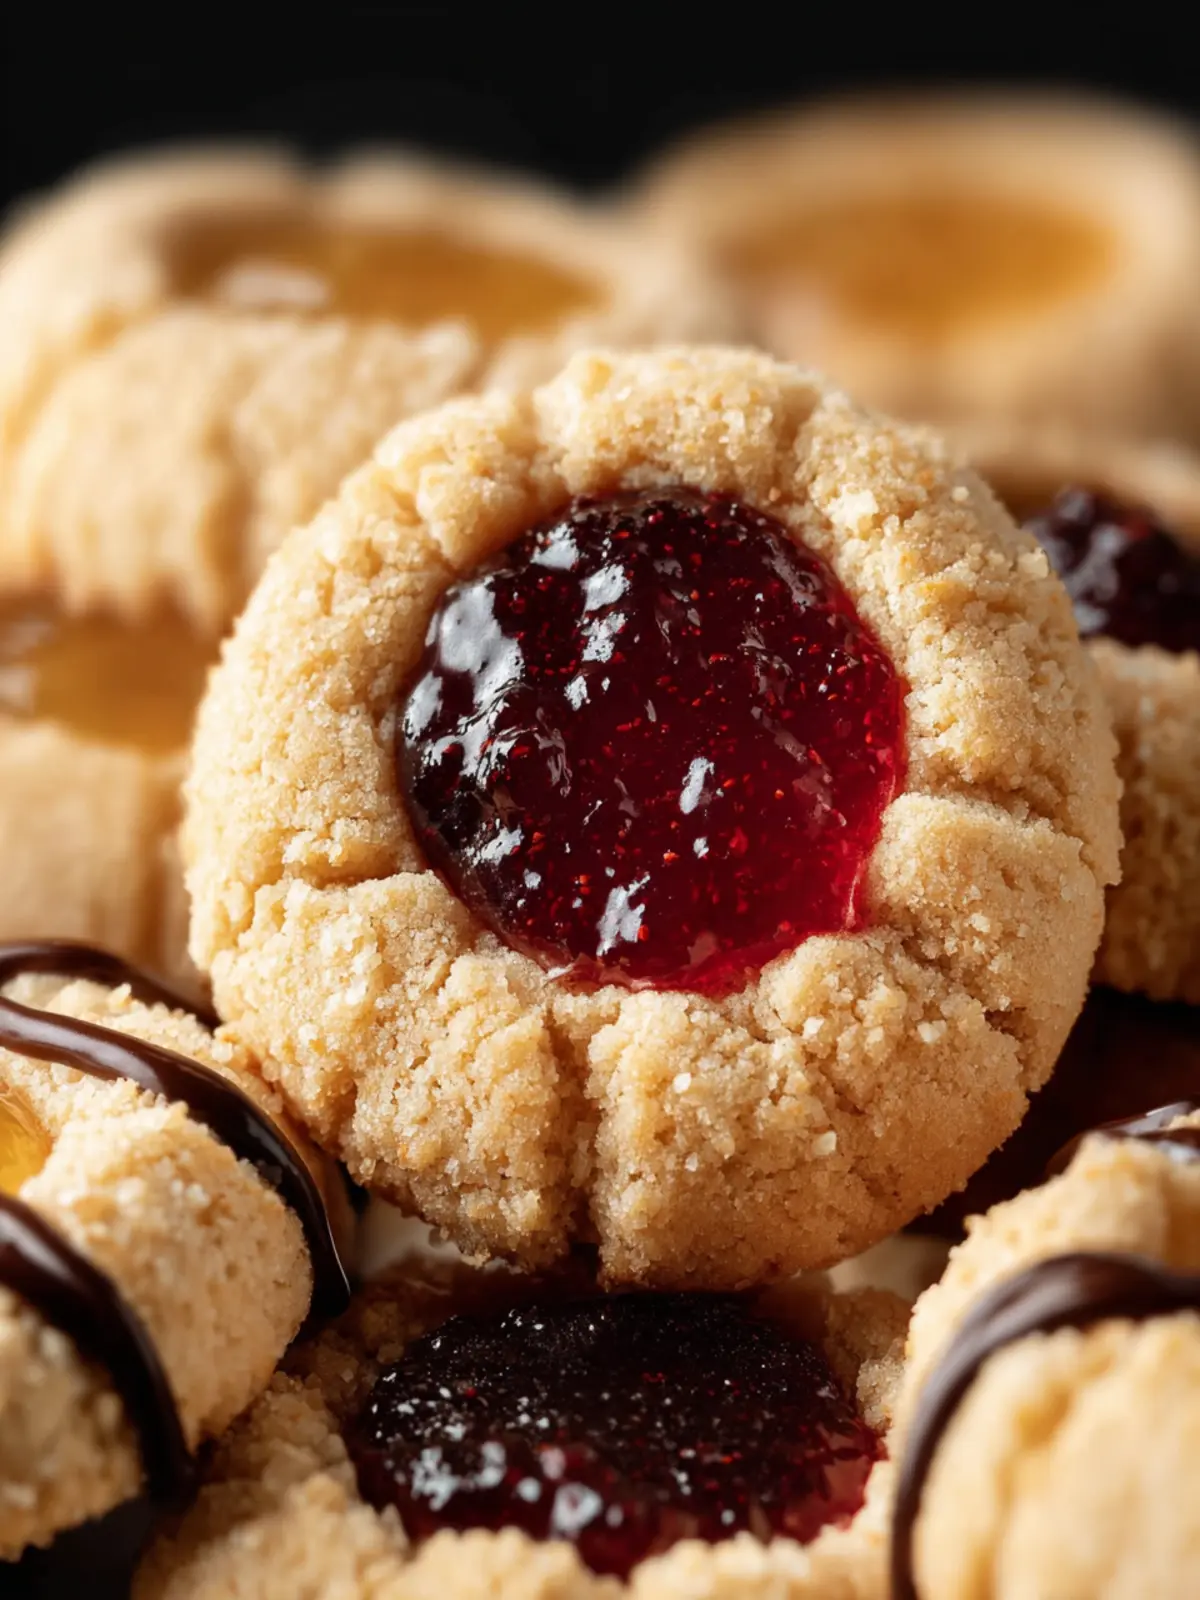
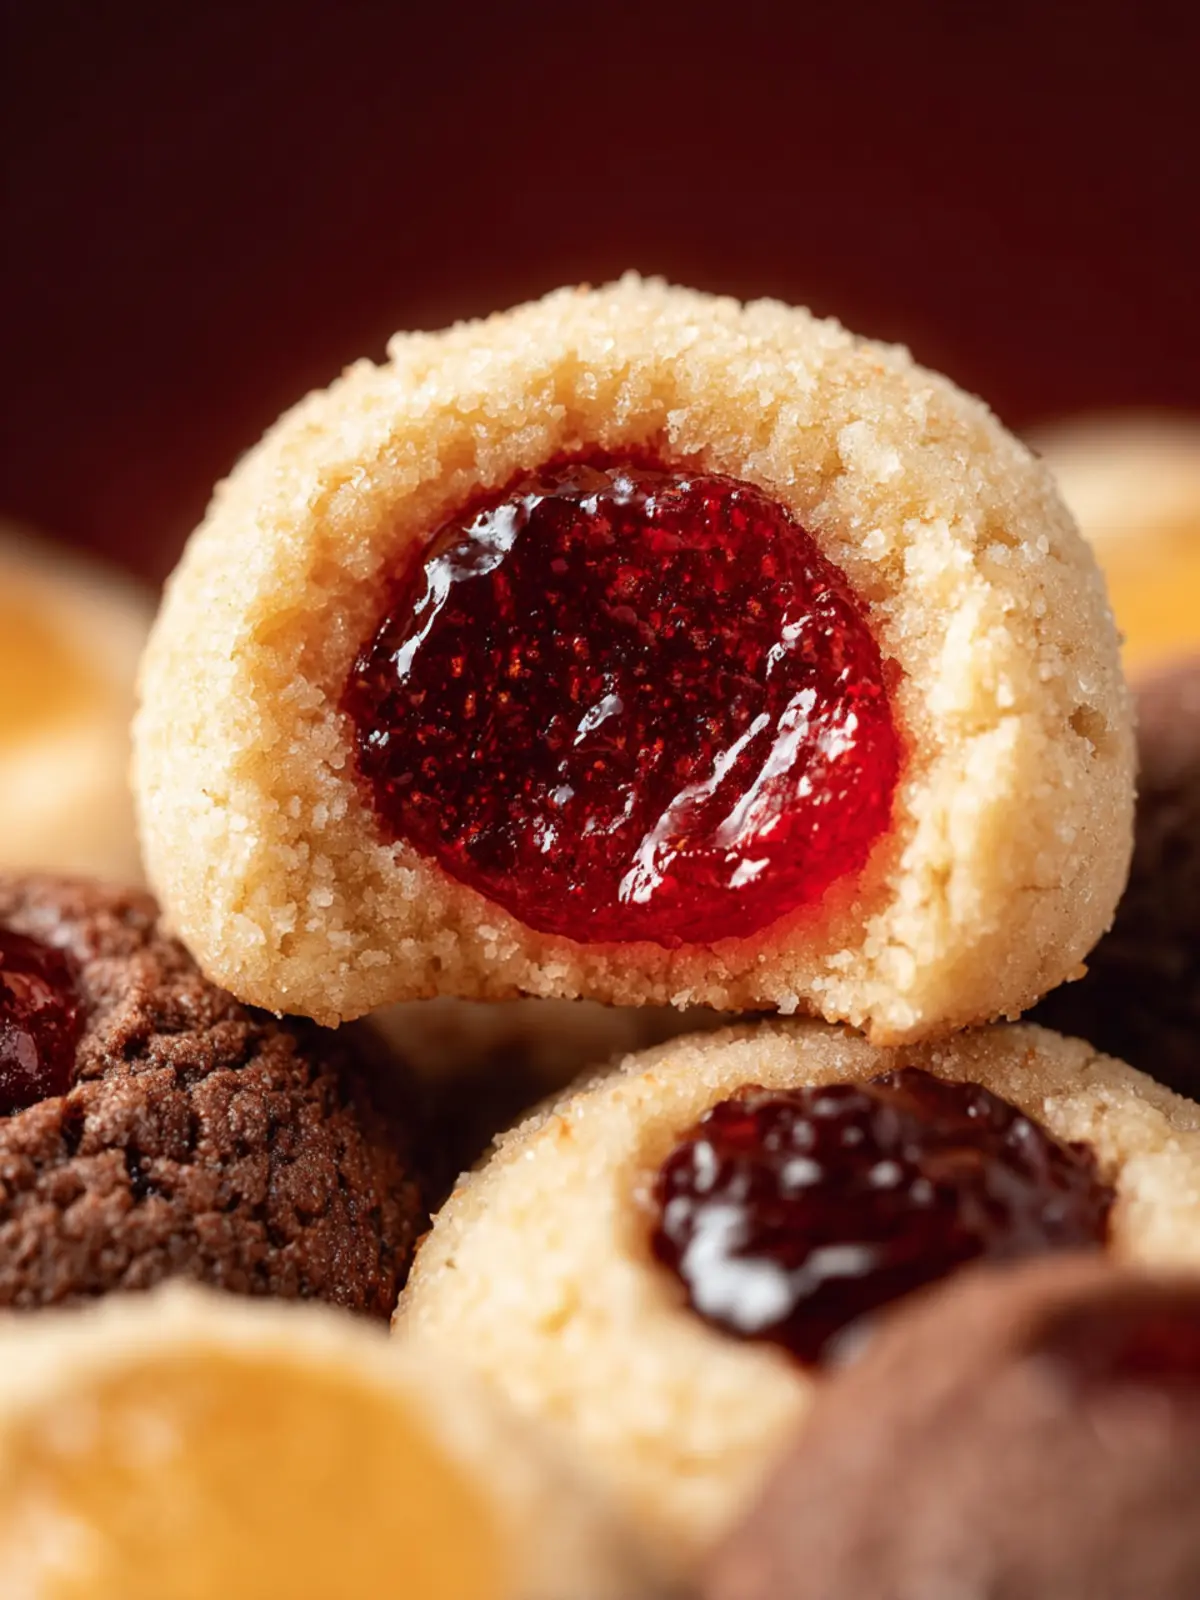
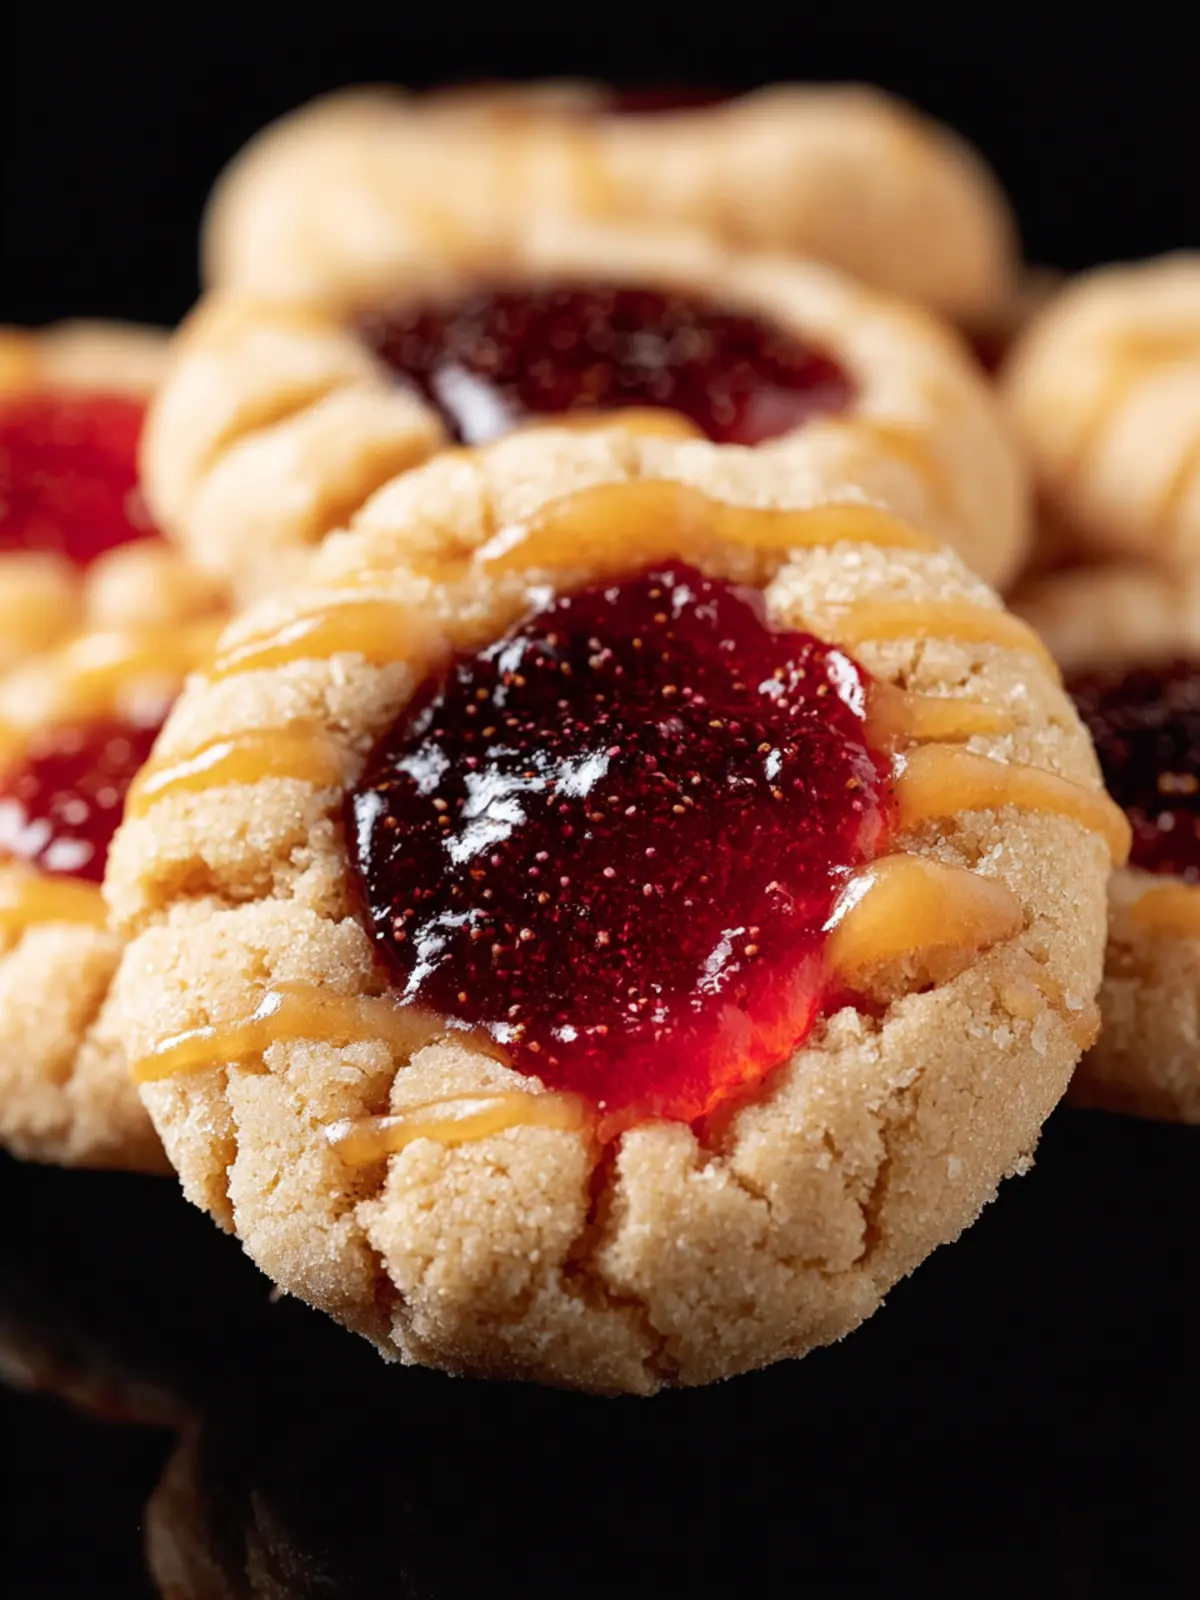
Jam or Preserves: This is where the magic happens! Choose your favorite flavor, like raspberry or apricot, for that classic thumbprint look and delicious burst of fruitiness.
Why You’ll Love This Recipe
Thumbprint cookies are more than just adorable little pastries; they hold a special place in the hearts of many, often evoking warm memories from childhood. Picture this: a cozy afternoon filled with laughter, as you and loved ones gather in the kitchen, rolling dough and forming those signature indents while fighting over your favorite jams. This recipe is not just a treat; it’s an invitation to create those cherished moments.
Simple Yet Flavorful
What makes thumbprint cookies so delightful is their simplicity. With a handful of common ingredients, you can whip up a batch that impresses friends and family alike. The balance of buttery goodness and sweet jam creates a harmonious bite that is hard to resist.
Customizable Options
One of the great joys of this recipe is its versatility. Feel free to swap out the jam for your favorite flavors, like raspberry, apricot, or even Nutella for some chocolatey goodness. You can experiment, making each batch uniquely yours.
Perfect for Any Occasion
Whether it’s a casual weekday treat or part of your holiday cookie platter, thumbprint cookies fit seamlessly into any event. Their vibrant colors and delicious flavors mean they won’t just be a part of your dessert table; they will be the star of it! So, roll up your sleeves and get baking—it’s time to make some sweet memories!
Variations on Thumbprint Cookies
Who knew that thumbprint cookies could be the perfect base for endless creativity? These delightful treats, with their signature indents, are not just for jam fillings anymore. You might find yourself excited to try various takes once you dive into this beloved recipe.
Fruit Preserves and Jams
The classic choice remains a favorite: fruit preserves. For a burst of flavor, consider using raspberry or apricot. Their vibrant colors and tangy tastes elevate the cookie, making them perfect for any occasion.
Chocolate Dreams
Craving something decadent? Swap out the jam for chocolate ganache or Nutella. The rich, velvety center creates a divine contrast to the buttery cookie, transforming your thumbprint cookies into a chocolate lover’s dream.
Nut Butters
If you’re a peanut butter aficionado, create a thumbprint with a dollop of creamy or chunky peanut butter. This twist brings an irresistible nuttiness to your cookies, and a sprinkle of sea salt on top adds the perfect finishing touch.
Coconut and Lime
For a tropical flair, mix shredded coconut into your dough and fill with key lime curd. This combination brightens up the flavor profile, transporting your taste buds to a sunny beach.
Seasonal Spices
Don’t hesitate to experiment with spices! Adding cinnamon or ginger can instantly give your cookies a holiday spin. Just think of all the delightful variations you can create with thumbprint cookies!
Cooking Tips and Notes for Thumbprint Cookies
Creating the perfect thumbprint cookies is as enjoyable as indulging in them. With just a few handy tips, you’ll elevate your baking game and impress your friends with these delightful treats.
Choosing the Right Jam
When it comes to the filling for your thumbprint cookies, quality matters. I often opt for homemade or artisanal jams, as they provide a richer flavor compared to store-bought versions. Raspberry and apricot are my favorites, but don’t hesitate to experiment with your desired flavors—cherry or even lemon curd can be a delightful twist!
Chill Your Dough
A little patience goes a long way when making thumbprint cookies. After mixing your dough, chilling it for at least 30 minutes will not only help it hold its shape but also enhance the flavors. This step prevents the cookies from spreading too much while baking.
Perfecting the Thumbprint
When creating the iconic “thumbprint” in each cookie, be gentle. Using your thumb may seem traditional, but a small round utensil can do the trick without flattening your cookie too much, ensuring an ideal reservoir for that luscious jam.
Baking Time
Remember, every oven is different. Keep a close eye on your cookies as they bake; you want them to be lightly golden around the edges but still soft in the center. Adjust the baking time if you notice they are browning too quickly.
By following these simple tips, your thumbprint cookies will not only taste amazing but look professional—ready for any gathering or just to enjoy at home!
Serving Suggestions for Thumbprint Cookies
The delightful world of thumbprint cookies opens up a stage for creativity and indulgence. Beyond just enjoying them straight from the oven, consider adding a personal touch with these thoughtful serving suggestions.
-
Pair with Beverages: These cookies shine when served alongside a cup of coffee or tea. The rich flavors of the cookie complement a smooth, warm drink beautifully. Try a nutty espresso or comforting chai for a cozy afternoon break.
-
Add a Scoop of Ice Cream: For a fun dessert twist, sandwich a scoop of your favorite ice cream between two thumbprint cookies. Vanilla, chocolate, or even fruit-flavored ice cream can create an exciting flavor contrast that tantalizes the taste buds.
-
Gift Them: Pack a dozen thumbprint cookies in a decorative box tied with a ribbon. They make a thoughtful gift for friends, family, or as a delightful addition to a potluck or bake sale.
By elevating your thumbprint cookies presentation, you’ll make sharing these treats all the more enjoyable, creating memories that are just as sweet as the cookies themselves.
Time Breakdown for Thumbprint Cookies
Creating thumbprint cookies is a delightful journey through textures and flavors. The process is simple yet rewarding, perfect for those cozy weekends or festive gatherings.
Preparation time
Setting aside approximately 20 minutes to mix your ingredients ensures you’ll have everything prepped and ready to go. This includes measuring out butter, sugar, and flour, and forming those sweet little thumbprints in the dough.
Baking time
Once prepped, the cookies will need about 12 to 15 minutes in the oven. This short baking time allows them to turn golden while the jam bubble slightly, creating that ideal chewy yet crispy cookie.
Total time
From start to finish, you’re looking at about 35 to 40 minutes before those delectable thumbprint cookies are on the cooling rack. It’s a quick endeavor that results in a sweet treat everyone will adore, making it worth every minute spent!
Nutritional Facts for Thumbprint Cookies
When you bite into a thumbprint cookie, you’re treating yourself to a delightful balance of sweetness and texture. But do you know what’s packed inside those delicious morsels? Let’s explore the nutritional aspects to help you enjoy these cookies even more mindfully.
Calories
A single thumbprint cookie contains about 90-100 calories, making it a relatively light treat to enjoy in moderation. Perfect for satisfying your sweet tooth without overindulging.
Protein
These cookies provide around 1-2 grams of protein. While not a significant source, every little bit contributes to your daily intake, especially when paired with a cup of milk or a nut butter spread.
Sugar
You’ll find approximately 6-8 grams of sugar in each thumbprint cookie. This sweetness comes from both the cookie base and the fruit preserves you choose for the center. If you’re watching your sugar intake, consider using less jam to balance flavor and sweetness!
By keeping these nutritional facts in mind, you can enjoy your thumbprint cookies as a delightful centerpiece at gatherings or a cozy solo treat with your tea.
FAQ about Thumbprint Cookies
Baking thumbprint cookies can be a nostalgic experience filled with delightful flavors and memories. It’s common to have questions, especially if you’re excited to make these treats for the first time. Let’s clear up some of the most frequently asked questions to make your baking adventure as smooth as possible.
Can I use other types of jam?
Absolutely! While traditional thumbprint cookies often feature raspberry or apricot jam, feel free to get creative. You can use any jam or jelly you enjoy, such as strawberry, blackberry, or even orange marmalade. If you’re in the mood for something different, try using chocolate hazelnut spread instead of jam for a delicious twist!
How do I store thumbprint cookies?
To keep your thumbprint cookies fresh and chewy, store them in an airtight container at room temperature. They’ll last about a week—if they last that long! If you notice any cookies getting a bit dry, try placing a slice of bread in the container; it helps maintain moisture. Just remember to remove the bread after a few days to avoid sogginess.
Can I freeze thumbprint cookies?
Yes, you can freeze thumbprint cookies for later enjoyment. Place them in a single layer on a baking sheet to freeze them individually first. Once they’re firm, transfer them to an airtight container or freezer bag, separating layers with parchment paper. They’ll be good for up to three months. When you’re ready to indulge again, simply let them thaw at room temperature. Enjoy!
Conclusion on Thumbprint Cookies
In summary, thumbprint cookies offer a delightful way to express your creativity in the kitchen. With their unique, inviting shapes and sweet, flavorful fillings, these cookies are perfect for any occasion—from casual gatherings to sophisticated celebrations. When you use quality ingredients like rich butter and your favorite fruit preserves, you elevate each bite into a moment worth savoring.
Experiment with different flavor combinations to truly make these cookies your own. It’s not just about baking; it’s about creating memories and sharing sweetness with those you love. So grab your ingredients, roll up your sleeves, and enjoy crafting these delicious treats!
Print
Jam-Filled Cookies
- Total Time: 31 minutes
- Yield: 24 cookies 1x
- Diet: Vegetarian
Description
Delicious jam-filled cookies made with unsalted butter, sugar, and a hint of almond extract.
Ingredients
Scale
- 1 cup unsalted butter (softened to room temperature)
- ½ cup granulated sugar
- 1 large egg yolk
- 1 teaspoon vanilla extract
- ½ teaspoon salt
- ½ teaspoon almond extract
- 2 ¼ cups all-purpose flour
- 3 tablespoons granulated sugar (for rolling)
- ½ cup raspberry and/or apricot jam (or your favorite flavor)
Instructions
- Preheat oven to 350°F. Line baking sheets with parchment paper, set aside.
- Use an electric mixer to beat together the butter and granulated sugar until light and creamy. Scrape down the sides of the bowl.
- Add the egg yolk, vanilla extract, salt, and almond extract. Mix until well combined, scraping down the sides of the bowl as needed.
- Mix in the flour on low speed. The dough will be firm.
- To roll cookie dough balls: Place the 3 tablespoons of granulated sugar in a wide, shallow bowl. Scoop tablespoon-sized portions of cookie dough and roll into smooth balls. Roll the balls in the sugar and place on the prepared baking sheets, about 2½ inches apart.
- Use the back of a round teaspoon measuring spoon to press a well into each cookie (the dough balls will also flatten some as you make the wells). Spoon ½ teaspoon of jam into each cookie well.
- Bake for 10-11 minutes until the bottoms of the cookies are just barely starting to lightly brown. Let cool on the baking sheet for a few minutes, then transfer to a wire rack to finish cooling.
Notes
- For variations, try using different flavors of jam based on your preference.
- Prep Time: 20 minutes
- Cook Time: 11 minutes
- Category: Dessert
- Method: Baking
- Cuisine: American
Nutrition
- Serving Size: 1 cookie
- Calories: 120
- Sugar: 6g
- Sodium: 50mg
- Fat: 7g
- Saturated Fat: 4g
- Unsaturated Fat: 2g
- Trans Fat: 0g
- Carbohydrates: 12g
- Fiber: 0g
- Protein: 1g
- Cholesterol: 25mg