Follow Me On Social Media!
How to Make a Sourdough Starter: Your Best Bread Companion
Introduction to How to Make a Sourdough Starter
Embarking on the journey of how to make a sourdough starter can feel like an adventure full of delicious possibilities. Imagine a kitchen filled with the warm, inviting aroma of fresh bread, and the knowledge that the simple ingredients on your countertop are transforming into a living culture, ready to elevate your baking game. Creating your own sourdough starter is not just a process; it’s a rewarding experience that connects you with centuries of baking tradition. The alchemy of flour and water, combined with wild yeast and bacteria present in the environment, flows through your fingertips as you nurture this vibrant community.
The allure of homemade sourdough
What is it about homemade sourdough that captivates so many of us? Beyond its unique tangy flavor and chewy crust, there’s a sense of accomplishment in nurturing something from scratch. When you decide how to make a sourdough starter, you’re engaging with a living ecosystem that requires care, attention, and a little bit of patience. Each time you feed your starter, it bubbles with life, a reminder of the beautiful chemistry happening right there in your kitchen.
To get you started on this delightful journey, let’s walk through some key components. First, you’ll need:
-
Flour: Whole wheat flour is recommended initially to provide a more nutritious environment for the wild yeast. You’ll later transition to all-purpose flour if desired. It brings just the right balance of nutrients that get the fermentation rolling.
-
Water: Use filtered or dechlorinated water to avoid any chemicals that might hinder the yeast’s development. A warm temperature (around 75°F) is ideal for growth.
-
Time and patience: The key ingredients don’t just stop at flour and water. Allow a few days for your starter to bubble and ferment before it’s ready for baking.
As you set about creating your sourdough starter, remember that each bubble and rise is a milestone in your baking journey. Embrace the process, and soon, you’ll be rewarded with loaves of bread that are not just baked; they tell a story rich with flavor and history.
Key Ingredients for How to Make a Sourdough Starter
Water: The foundation of your sourdough starter, water plays a pivotal role in activating the natural yeast and bacteria present in your flour. Avoid chlorinated water; filtered or bottled water is ideal for fostering a lively fermentation environment.
Flour: Whole wheat or rye flour are my go-to choices for creating an active sourdough starter. They contain more nutrients than all-purpose flour, giving the yeast a hearty meal to thrive on. Once established, you can switch back to all-purpose flour if you prefer.
Time: Patience is essential when learning how to make a sourdough starter. It typically takes about 5 to 7 days for the starter to bubble up and become robust enough for baking. Embrace the wait; the transformation is truly delightful!
Warmth: Keeping your starter in a warm, draft-free spot around 70-75°F (21-24°C) speeds up fermentation. If your kitchen is chilly, consider placing it near an oven or a warm appliance for the best results.
Why You’ll Love This Sourdough Starter
Creating your own sourdough starter is not just a baking project; it’s a delightful journey into the world of fermentation. Imagine waking up to the warm aroma of freshly baked sourdough bread, all thanks to a little jar of bubbling goodness on your countertop.
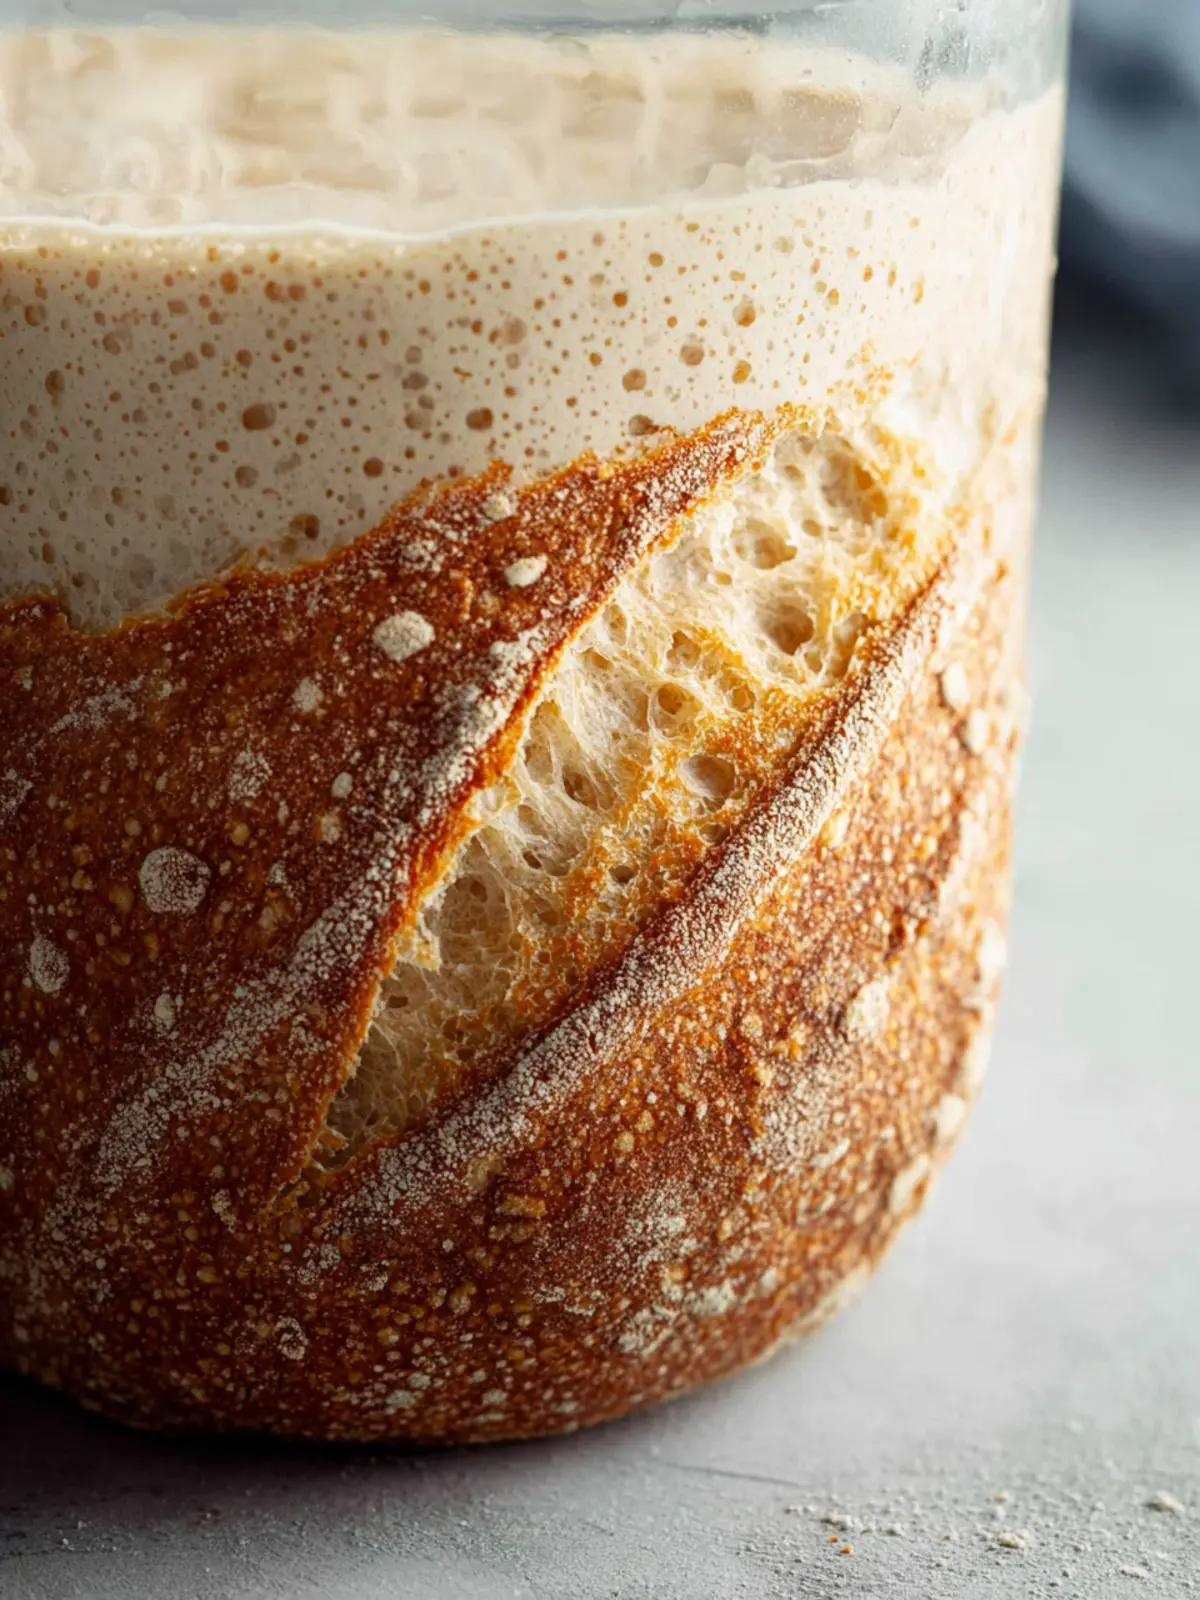
It’s Alive!
What sets this sourdough starter apart is its vibrant life. Over days of cultivating and feeding, you’ll witness your starter come alive, filled with active yeast that transforms simple flour and water into a bubbling symphony of flavor. This process is fascinating, turning the mundane into something extraordinary and making you feel like a true artisan.
A Source of Flavor
The flavor profile of your bread will be rich and complex, boasting tangy notes that commercial yeast simply can’t replicate. Say goodbye to bland loaves! Instead, welcome the satisfaction of producing bread that’s not just food, but a conversation piece.
Community & Connection
As you delve into how to make a sourdough starter, you might find yourself connecting with a community of fellow bakers. Sharing tips and stories creates a sense of belonging that enhances the experience. Plus, nothing beats the joy of sharing a loaf with family and friends!
Health Benefits
Lastly, many home bakers swear by the health benefits of sourdough. The fermentation process aids digestion and breaks down gluten, making it a friendlier option for many. Who wouldn’t love baking something delicious and nutritious?
Embrace the excitement of making your own sourdough starter, and you’ll find yourself enchanted by every rise and fall of this magical mixture.
Cooking Tips and Notes for Sourdough Starter
Creating your own sourdough starter is like nurturing a little ecosystem right in your kitchen. When you embark on this journey, a few practical tips can ensure that your starter thrives and yields delicious, tangy loaves.
Maintaining Your Starter
-
Feeding Ratio: A common feeding ratio is 1:1:1 (starter: flour: water). However, if your starter seems sluggish, you might experiment with a higher ratio of flour or use whole grain flour to give it a boost.
-
Water Temperature: Use lukewarm water for feeding your starter. Water that’s too hot can shock the yeast, while cold water may inhibit its growth.
Environmental Considerations
-
Room Temperature: Ideally, keep your starter in a warm spot, around 75°F to 80°F. If your kitchen is cool, consider placing it near a gentle heat source, like the oven when it’s off.
-
Covering Your Jar: When your starter is resting, cover it loosely with a cloth or a lid to prevent contamination while still allowing it to breathe. Remember, it’s a living culture!
Consistency Checks
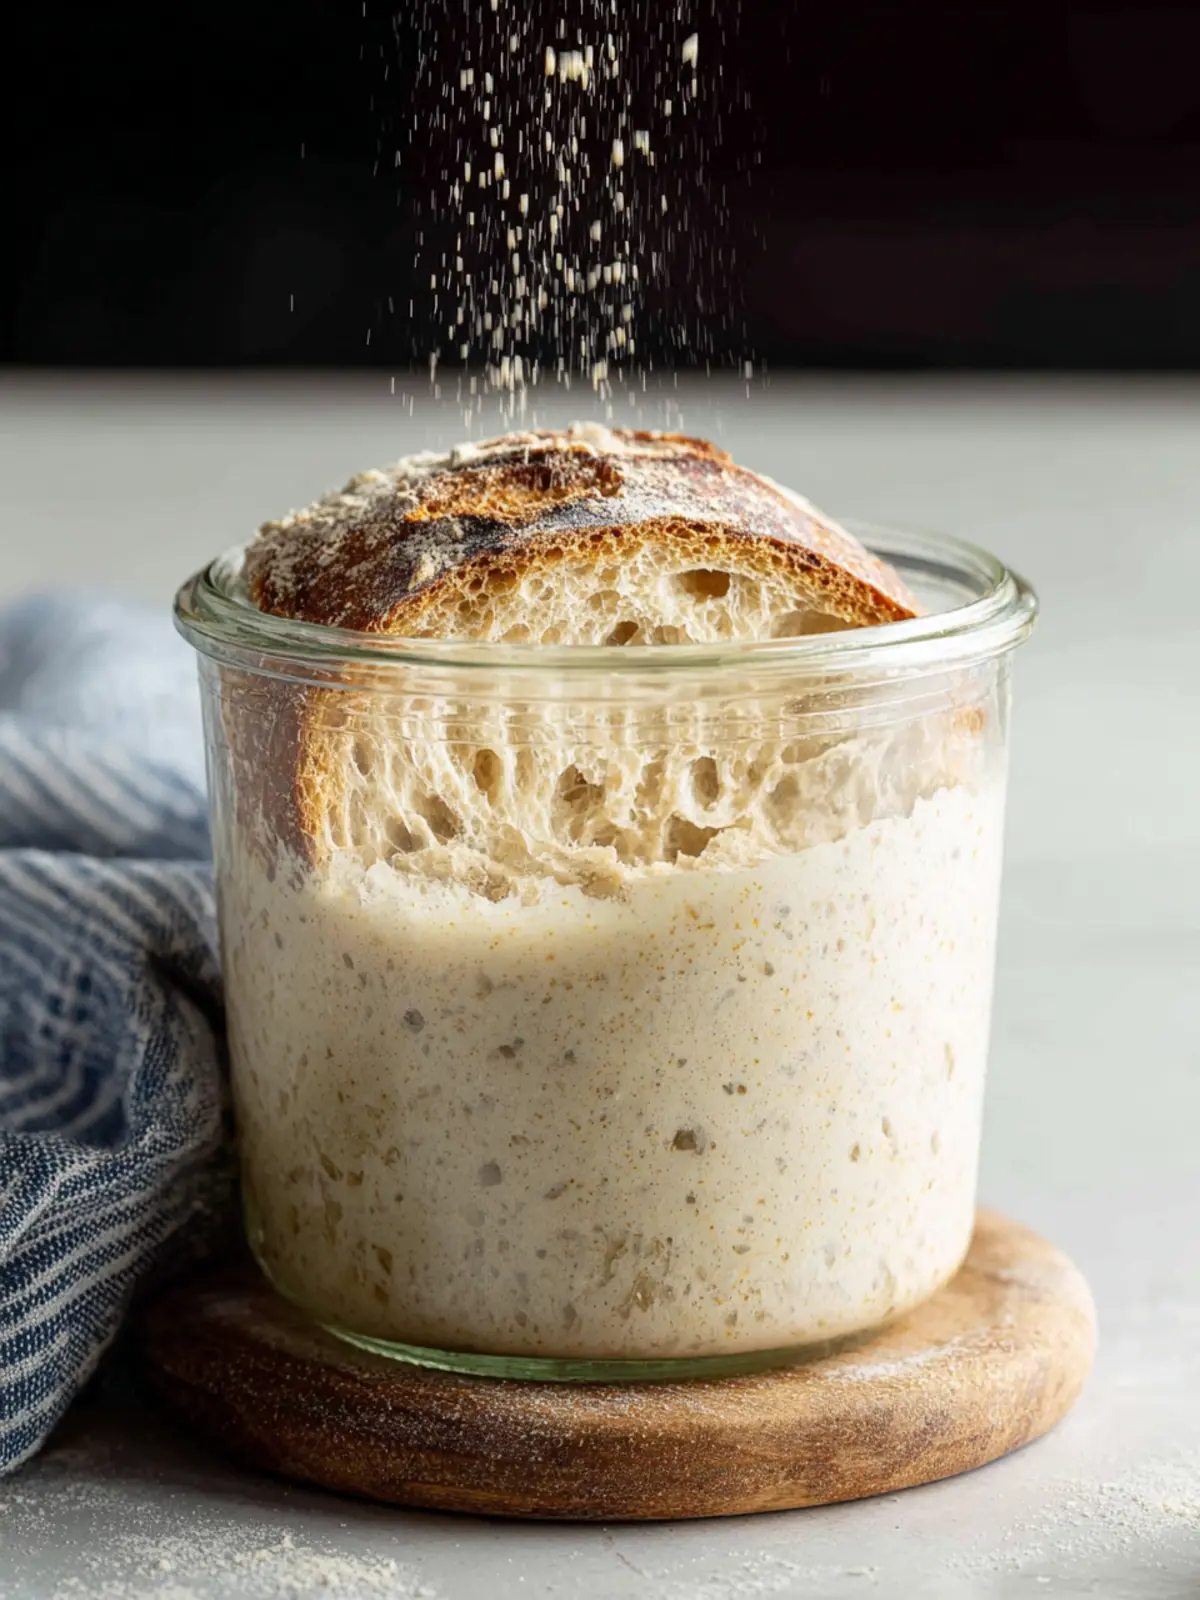
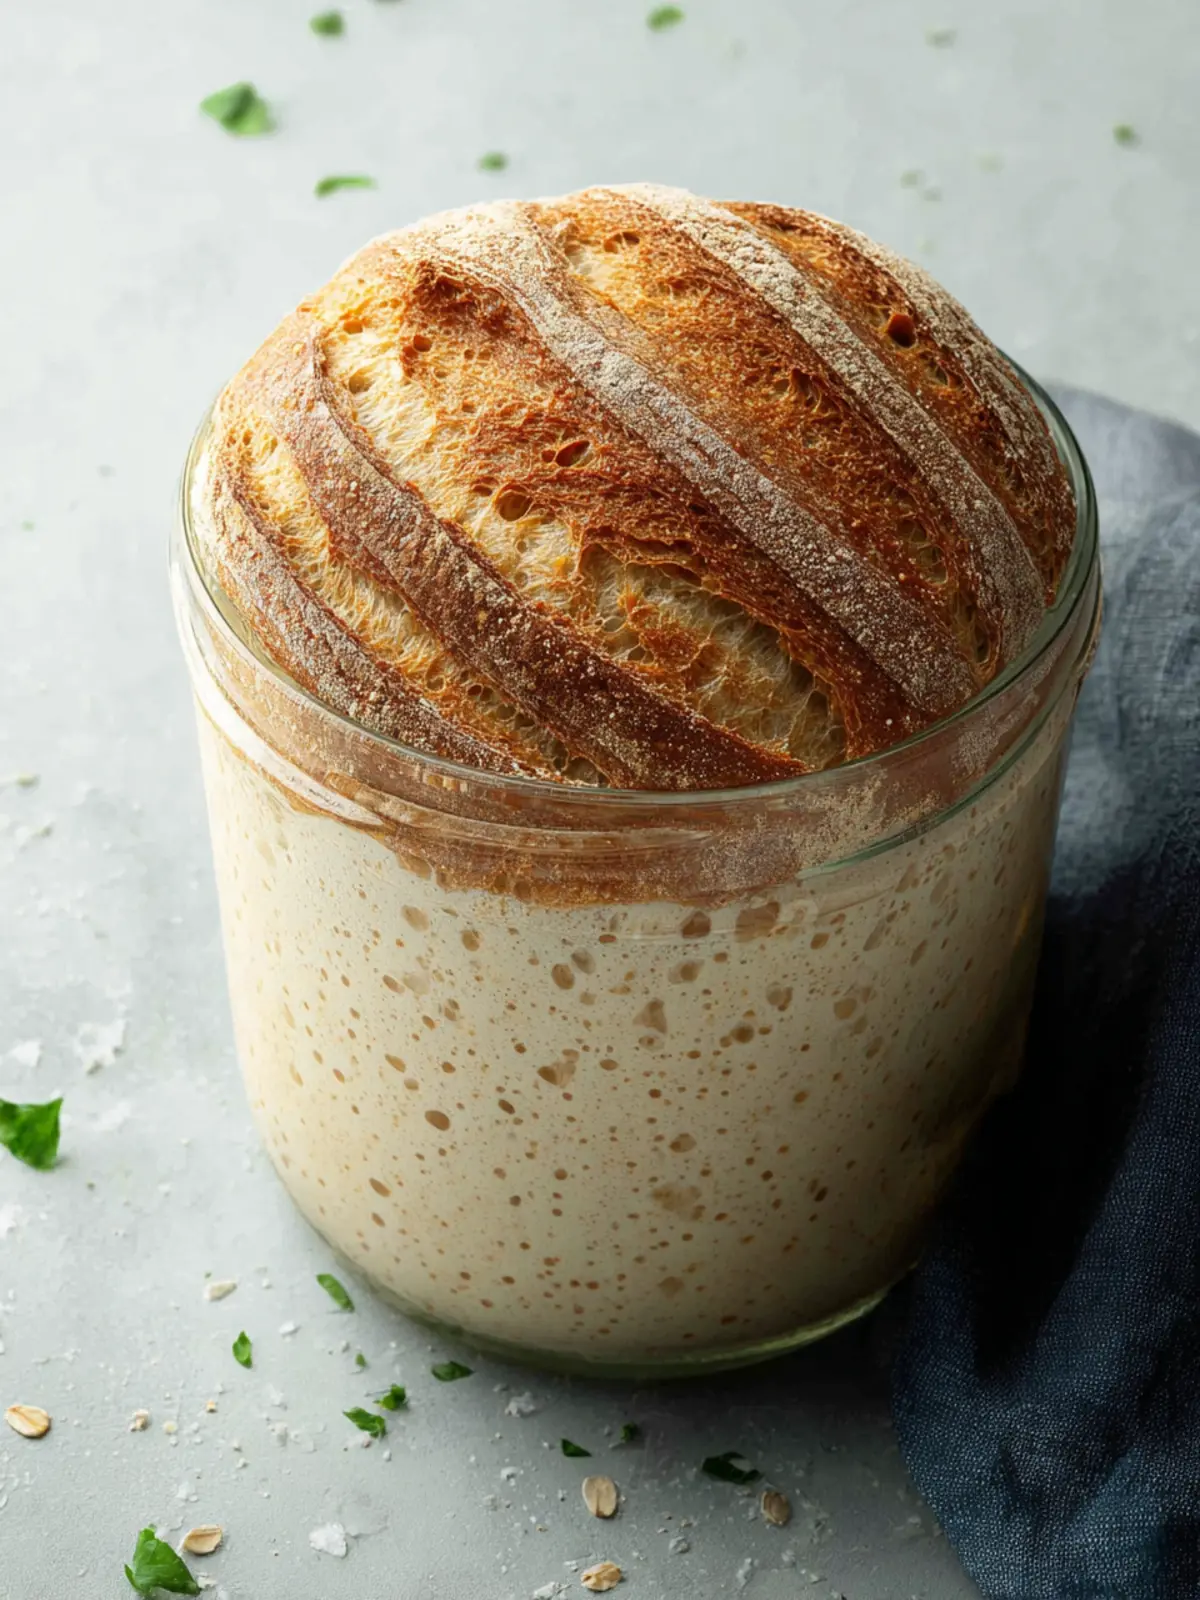
- Bubbles and Aroma: Look for small bubbles and a pleasant, slightly sour aroma, which indicates that your starter is healthy and ready to use. If it produces a layer of liquid on top (hooch), that means it’s hungry—time to feed it!
Mastering how to make a sourdough starter may take time, but with patience and these tips, you’ll be on your way to baking mouthwatering sourdough bread!
Serving Suggestions for Sourdough Starter
Creating your own sourdough starter is a rewarding journey, but once you’ve mastered the basics, the fun truly begins. The versatility of sourdough starter is exciting—it’s not just for baking bread!
-
Sourdough Pancakes: Imagine waking up to a stack of fluffy pancakes made with your starter. Just mix your prepared starter with flour, eggs, and milk for a delightfully tangy breakfast treat.
-
Artisan Bread: Of course, one of the best uses for sourdough starter is baking loaves of rustic bread. The flavor profile it adds is simply unmatched by any other leavening agent.
-
Sourdough Pizza Crust: Why not elevate pizza night? Use your starter to create a unique, chewy crust. Just combine it with flour and water, let it rise, and your pizza will have a fantastic depth of flavor.
-
Sourdough Crackers: For a quick and easy snack, mix your starter with some flour, roll it thin, and bake until crisp. They’re perfect for dipping or enjoying on their own.
Incorporating these ideas into your routine not only showcases the beauty of sourdough but also deepens your connection with this age-old tradition. Now that you’ve learned how to make a sourdough starter, the possibilities are endless!
Time Breakdown for How to Make a Sourdough Starter
Creating a sourdough starter is a rewarding journey that requires a bit of patience and care. Let’s break down the time you’ll need to invest in this flavorful endeavor.
Preparation time
Setting up your sourdough starter takes about 15 minutes. You’ll gather your ingredients—flour and water—and mix them together to create the initial blend.
Fermentation time
The real magic happens during fermentation, which lasts roughly 5 to 7 days. Each day, you’ll need to feed the starter (adding fresh flour and water) and observe its growth and bubbling.
Total time
Overall, from preparation to having a bubbly sourdough starter, you’re looking at about a week. It’s a small commitment for the big payoff of homemade bread!
Nutritional Facts for Sourdough Starter
Creating your own sourdough starter not only brings the joy of baking fresh bread into your home, but it also opens the door to understanding the nutritional facts behind your beloved creation. Let’s break down the essentials together!
Calories
A typical serving of sourdough starter contains approximately 50 calories. This may vary slightly depending on the specific type of flour and the hydration level used in your starter. It’s a small price to pay for the flavor and health benefits you’ll eventually get from your homemade sourdough bread!
Carbohydrates
When it comes to carbohydrates, you’ll find about 11 grams per serving. This is primarily due to the flour in the starter, which is naturally rich in carbohydrates. As you transform it into a loaf, the fermentation process breaks down some of these carbs, making your sourdough easier to digest compared to regular bread.
Understanding these nutritional facts while learning how to make a sourdough starter not only enhances your baking skills but also empowers you to make more informed choices about your diet.
FAQs about How to Make a Sourdough Starter
Embarking on the journey to make a sourdough starter is both exciting and rewarding. With the right knowledge, you can create a bubbly, tangy starter that will elevate your baking game. To help you on this adventure, here are some frequently asked questions.
What is the purpose of discarding half of the starter?
Discarding half of your sourdough starter serves a crucial purpose. It helps maintain a healthy balance of flour and water, preventing your starter from becoming unwieldy. Think of it like pruning a plant—you need to remove some parts to encourage healthy growth. This process also concentrates the natural yeast and bacteria in your starter, leading to a more robust fermentation and flavor profile.
How can I tell if my starter is ready?
Determining when your starter is ready is key to successful baking. Look for these signs:
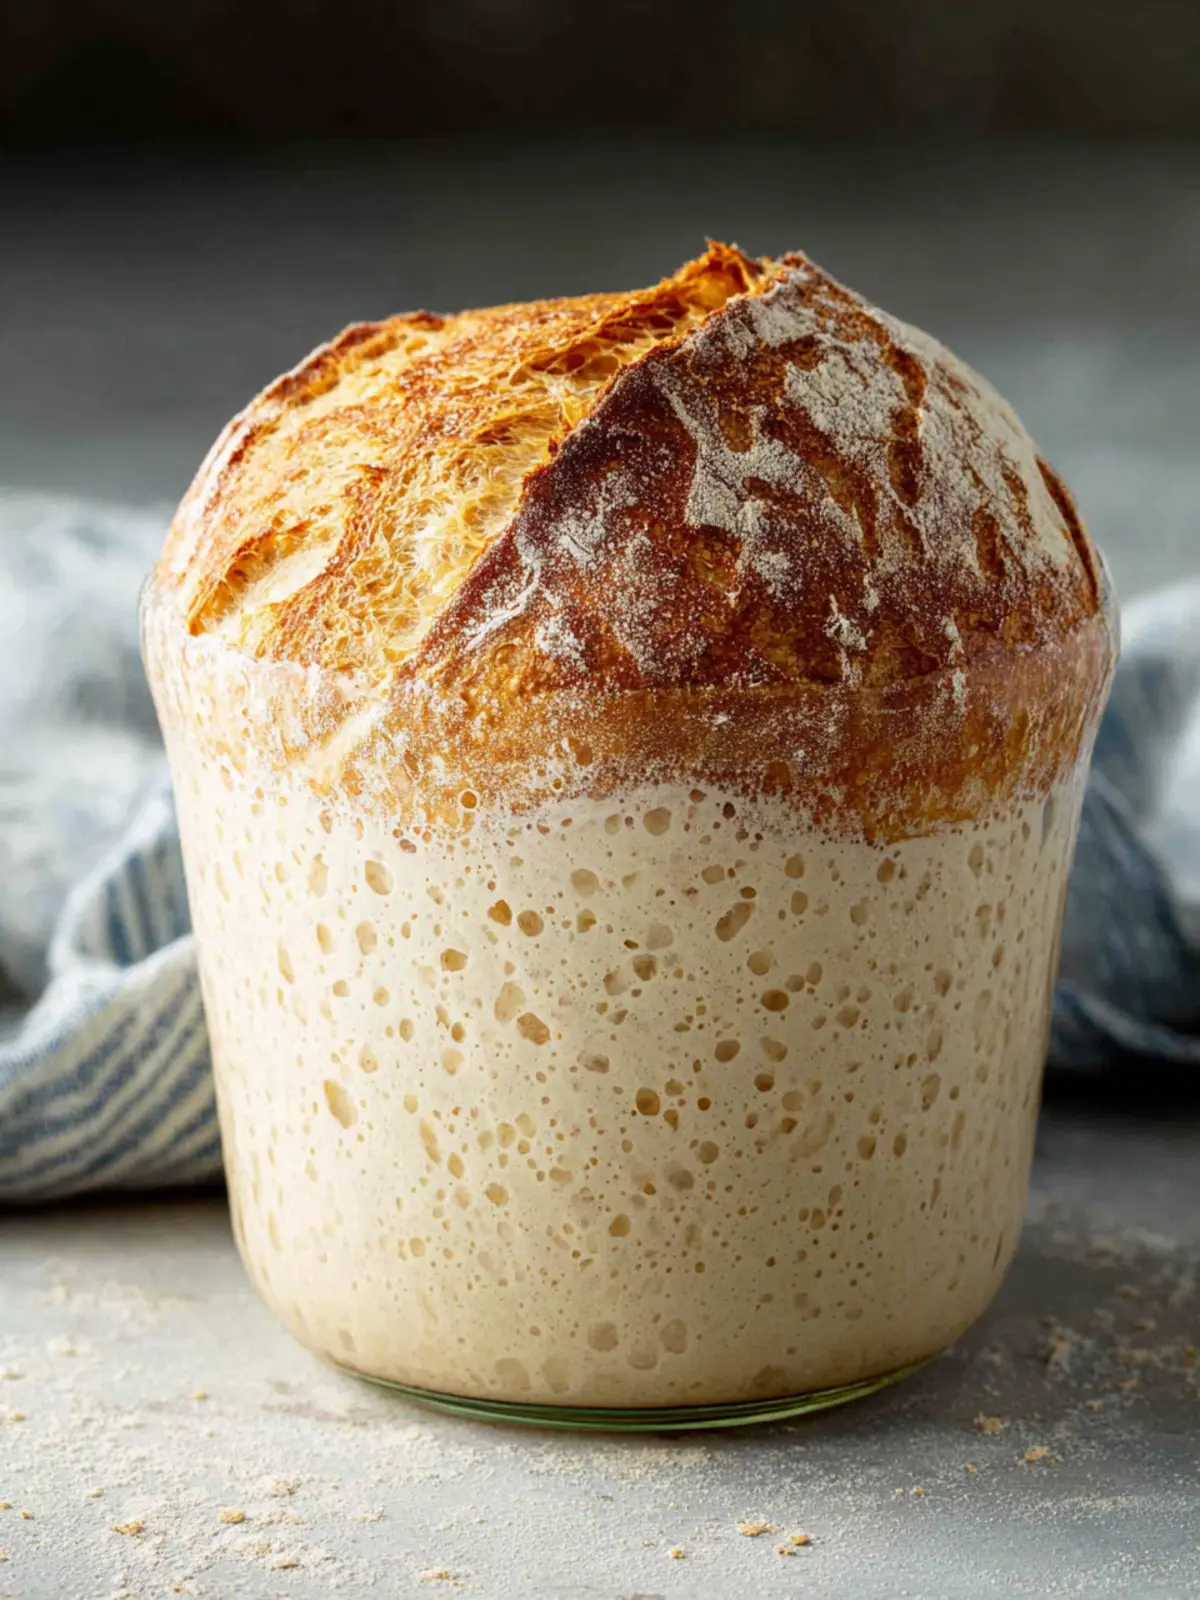
- Bubbles: A healthy starter should be bubbly and have an airy texture, indicating active fermentation.
- Doubling in size: It should roughly double in volume within 4 to 6 hours after feeding.
- Smell: Expect a pleasant, slightly tangy aroma. If it smells off or overly sour, it may need more time or adjustments.
Can I store my sourdough starter in the fridge?
Absolutely! Storing your sourdough starter in the fridge is a great way to slow down its activity, especially if you aren’t baking frequently. Just be sure to feed it once a week to keep those natural yeasts and bacteria happy. When you’re ready to bake again, take it out, feed it, and allow it to come to room temperature before using it in your recipes. This way, your starter won’t just survive but thrive, ready for all your delicious sourdough creations!
Conclusion on How to Make a Sourdough Starter
Creating your own sourdough starter is not just an adventure in baking; it’s a journey that connects you to the art of fermentation. By following the steps outlined in this guide, you’ve fostered the magic of wild yeast and bacteria—an ancient practice that has been cherished for generations. Remember, patience is key! Each day of nurturing your starter brings you closer to that perfect loaf of sourdough bread. Enjoy the process as much as the delicious rewards, and don’t forget to share your creations with friends and family. Happy baking!
Print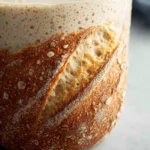
Sourdough Starter
- Total Time: 168 hours
- Yield: 1 starter 1x
- Diet: Vegetarian
Description
A simple recipe for creating a bubbly and active sourdough starter in just a week.
Ingredients
Scale
- 1 cup unbleached all-purpose flour (King Arthur recommended)
- 1 cup filtered water
Instructions
- Combine flour and water in a clean glass bowl.
- Stir thoroughly, scraping the sides to fully mix.
- Cover with a tea towel and let sit at room temperature for 24 hours.
- Days 2–5:
- Discard half of the starter each day.
- Feed the remaining starter with 1 cup flour and 1 cup water.
- Stir well, cover, and let rest for 24 hours.
- Days 6–7:
- Feed the starter every 12 hours instead of once per day.
- Continue discarding half and adding 1 cup each of flour and water at each feeding.
- By Day 7:
- The starter should be bubbly, active, and roughly double in size after feeding. It’s ready for baking.
Notes
- This starter can be used in a variety of sourdough recipes.
- Make sure to use filtered water to ensure the best results.
- Prep Time: 5 minutes
- Cook Time: 0 minutes
- Category: Baking
- Method: fermentation
- Cuisine: American
Nutrition
- Serving Size: 1 cup