Follow Me On Social Media!
Homemade Diaper Cream: The Best Soothing Solution for Baby’s Skin
Introduction to Homemade Diaper Cream
Discovering the world of homemade diaper cream can feel like uncovering a hidden treasure for parents. Picture this: it’s late at night, and your little one is squirming and fussy because of an unexpected diaper rash. You reach for that store-bought cream, only to wonder what those long ingredient names mean. This is the moment when creating your own diaper cream becomes not just an option, but a game changer.
Using homemade diaper cream can be a simple, effective solution. First off, it allows you to have complete control over what goes on your baby’s skin. Many commercial creams contain synthetic additives and fragrances that can irritate sensitive skin. By making your own, you choose ingredients that are both safe and soothing. Just imagine your child’s skin benefiting from the nourishing properties of natural elements without any hidden nasties.
Another compelling reason to consider this homemade approach is cost-effectiveness. Store-bought diaper creams can range from decent to expensive, leading you to choose between what you can afford and what you think is best for your baby. However, with a few basic ingredients from your kitchen, you can create a batch of diaper cream that not only saves you money but also ensures you’re using fresh, environmentally friendly materials. Plus, most of the ingredients are easy to find; you may already have them in your pantry.
Finally, there’s something incredibly satisfying about crafting a personalized product for your baby. The act of creating your own diaper cream grants a sense of accomplishment and brings a little extra love into your parenting journey. It doesn’t just help heal diaper rash—it symbolizes your care and commitment to doing what’s best for your child.
In the upcoming sections, you’ll not only find a trusted recipe but also some tips to customize your homemade diaper cream according to your child’s specific needs. Let’s dive into the ingredients that make this magic happen!
Key Ingredients for Homemade Diaper Cream
Creating your own homemade diaper cream opens up a world of customizable care for your little one’s delicate skin. It’s not just about slathering anything on; it’s about crafting a soothing blend that relies on natural ingredients you can trust.
-
Coconut Oil: This is a superstar in the world of skin care. It’s packed with antimicrobial properties that help in soothing rashes while keeping the skin moisturized. Plus, it smells wonderful!
-
Shea Butter: A must-have for achieving that creamy texture, shea butter is revered for its richness and ability to penetrate deep into the skin. It’s excellent for healing and providing long-lasting hydration.
-
Beeswax: Think of beeswax as the glue that holds everything together. It thickens the cream and creates a protective barrier against moisture, which is essential in preventing diaper rash.
-
Essential Oils: A few drops of calming essential oils like lavender or chamomile can make a big difference. They not only add a gentle scent but also bring added healing properties.
-
Vitamin E Oil: This is the cherry on top for nourishing and protecting the skin. It helps to heal irritation and enhances the longevity of your homemade diaper cream.
Gather these ingredients, and you’re on your way to a nurturing solution for your baby’s needs!
Why You’ll Love This Recipe
Creating your own homemade diaper cream is not just an opportunity to save money; it’s also a way to ensure that your little one’s delicate skin is cared for naturally and safely. While commercial products can often contain harsh chemicals, this simple DIY recipe allows you to control and understand exactly what goes into each jar.
-
Natural Ingredients: This homemade diaper cream is crafted from all-natural ingredients, including shea butter, coconut oil, and beeswax. Each of these components plays a vital role in nourishing and soothing irritated skin, providing you peace of mind for your baby’s health.
-
Cost-Effective: Why spend money on expensive creams filled with additives when you can whip up a batch at home? A little goes a long way, and you can make enough to last for several weeks.
-
Customizable: Want to experiment with scents or textures? This basic recipe can easily be tweaked to add your favorite essential oils or other skin-soothing ingredients, making it customizable to your preferences.
-
Bonding Experience: Making this homemade diaper cream can be a fun, engaging activity. Picture yourself in the kitchen, perhaps with your partner or a friend, creating a nurturing product for your little one—it’s a lovely way to connect and celebrate parenthood.
When you put in the effort to create a homemade diaper cream, you’re making a conscious choice for your child’s health, crafting a soothing remedy straight from the heart.

Variations
Creating your own homemade diaper cream opens the door to a world of variations suited to your baby’s needs. Here are some delightful alternatives and customizations to consider:
-
Essential Oils: You can add calming scents by incorporating a few drops of lavender or chamomile essential oil. Just ensure they’re safe for babies and you’re using them sparingly.
-
Different Oils: While coconut oil is popular for its antimicrobial properties, try substituting it with sweet almond oil or jojoba oil for a different texture and moisturizing benefits.
-
Additives: Consider including shea butter for added creaminess and deep moisturizing, or an extra vitamin E oil for its skin-repairing benefits.
-
Ingredient swaps: If your baby has allergies, replace beeswax with a plant-based thickener like candelilla wax.
Each variation of homemade diaper cream allows you to cater to your baby’s sensitive skin while creating a treasured personal product.
Cooking Tips and Notes
Creating homemade diaper cream can be a rewarding experience, especially when you know what tips and tricks can enhance your outcome. A little preparation and understanding of your ingredients can go a long way!
Choosing the Right Oils
Opt for high-quality oils, such as coconut oil or jojoba oil. Coconut oil has natural antibacterial properties, making it an excellent choice for a mild and soothing cream. On the other hand, jojoba oil mimics the skin’s natural oils, promoting hydration without clogging pores.
Pay Attention to Beeswax
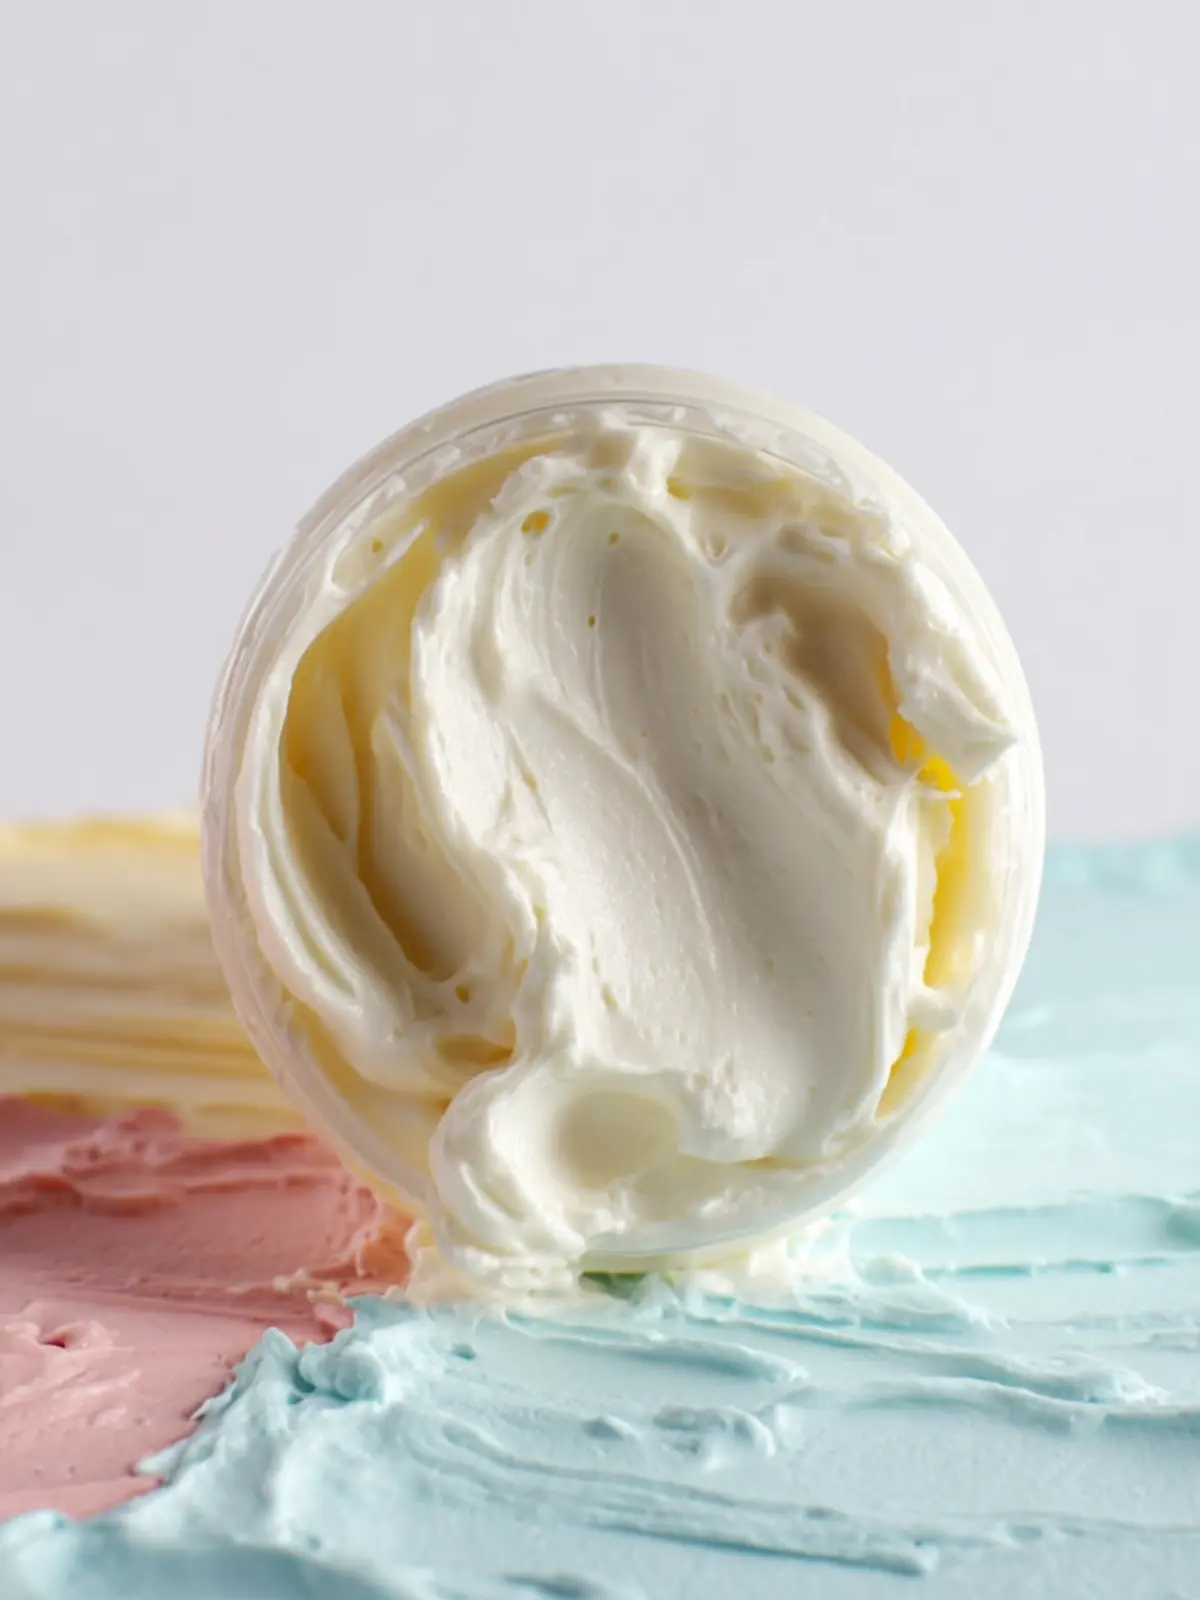
The amount of beeswax you use is crucial. Too little, and your cream might lack the desired thickness; too much, and it may become too hard. A good ratio is about 1 part beeswax to 4 parts oil. This ensures your homemade diaper cream is just the right consistency for easy application.
Blend for Texture
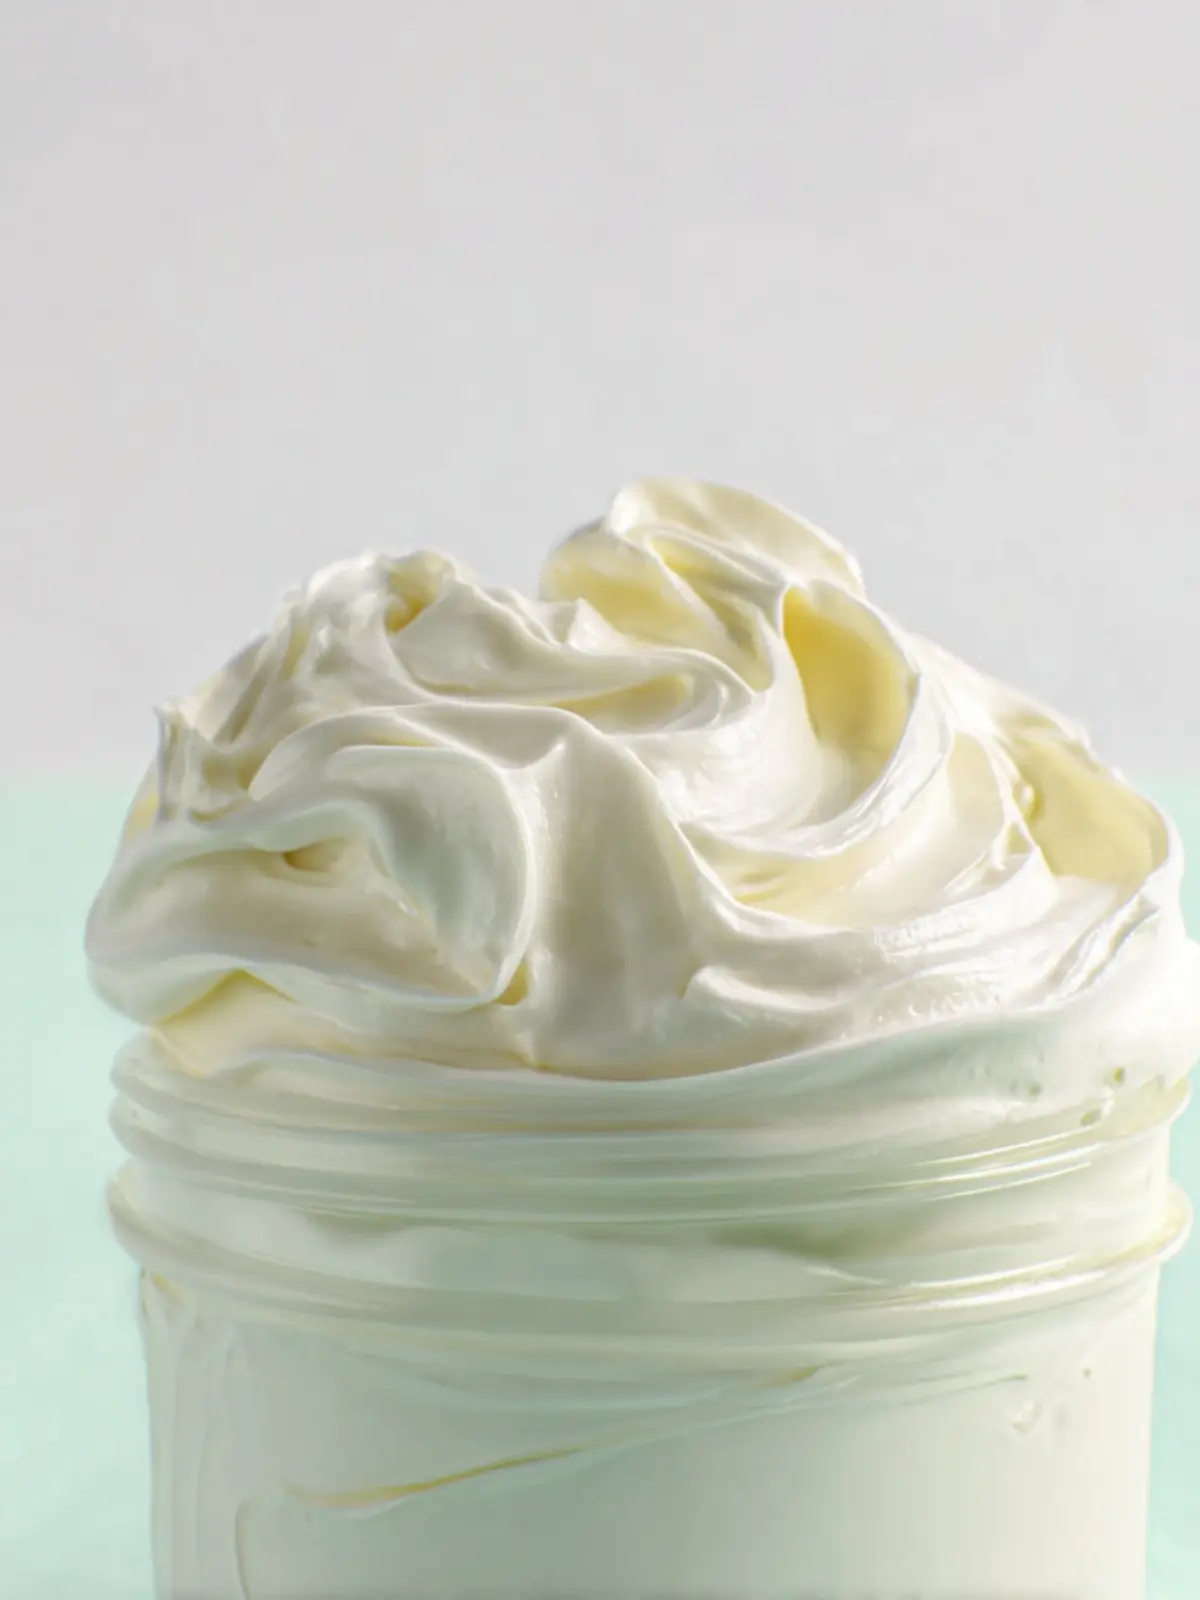
When you blend your ingredients, focus on achieving a smooth texture. Use an immersion blender or a sturdy mixing tool to ensure everything is well incorporated. This step is essential not only for the appearance but also for maximizing the effectiveness of the cream.
Cool and Store Properly
After preparing your cream, allow it to cool completely before transferring it to a storage container. Make sure to store it in a cool, dry place, or even the fridge, for longevity. Using a clean spatula each time you take some will prevent contamination.
With these tips, you will feel more confident in making your own personal care products and ensuring your little one’s comfort naturally and effectively!
Serving Suggestions
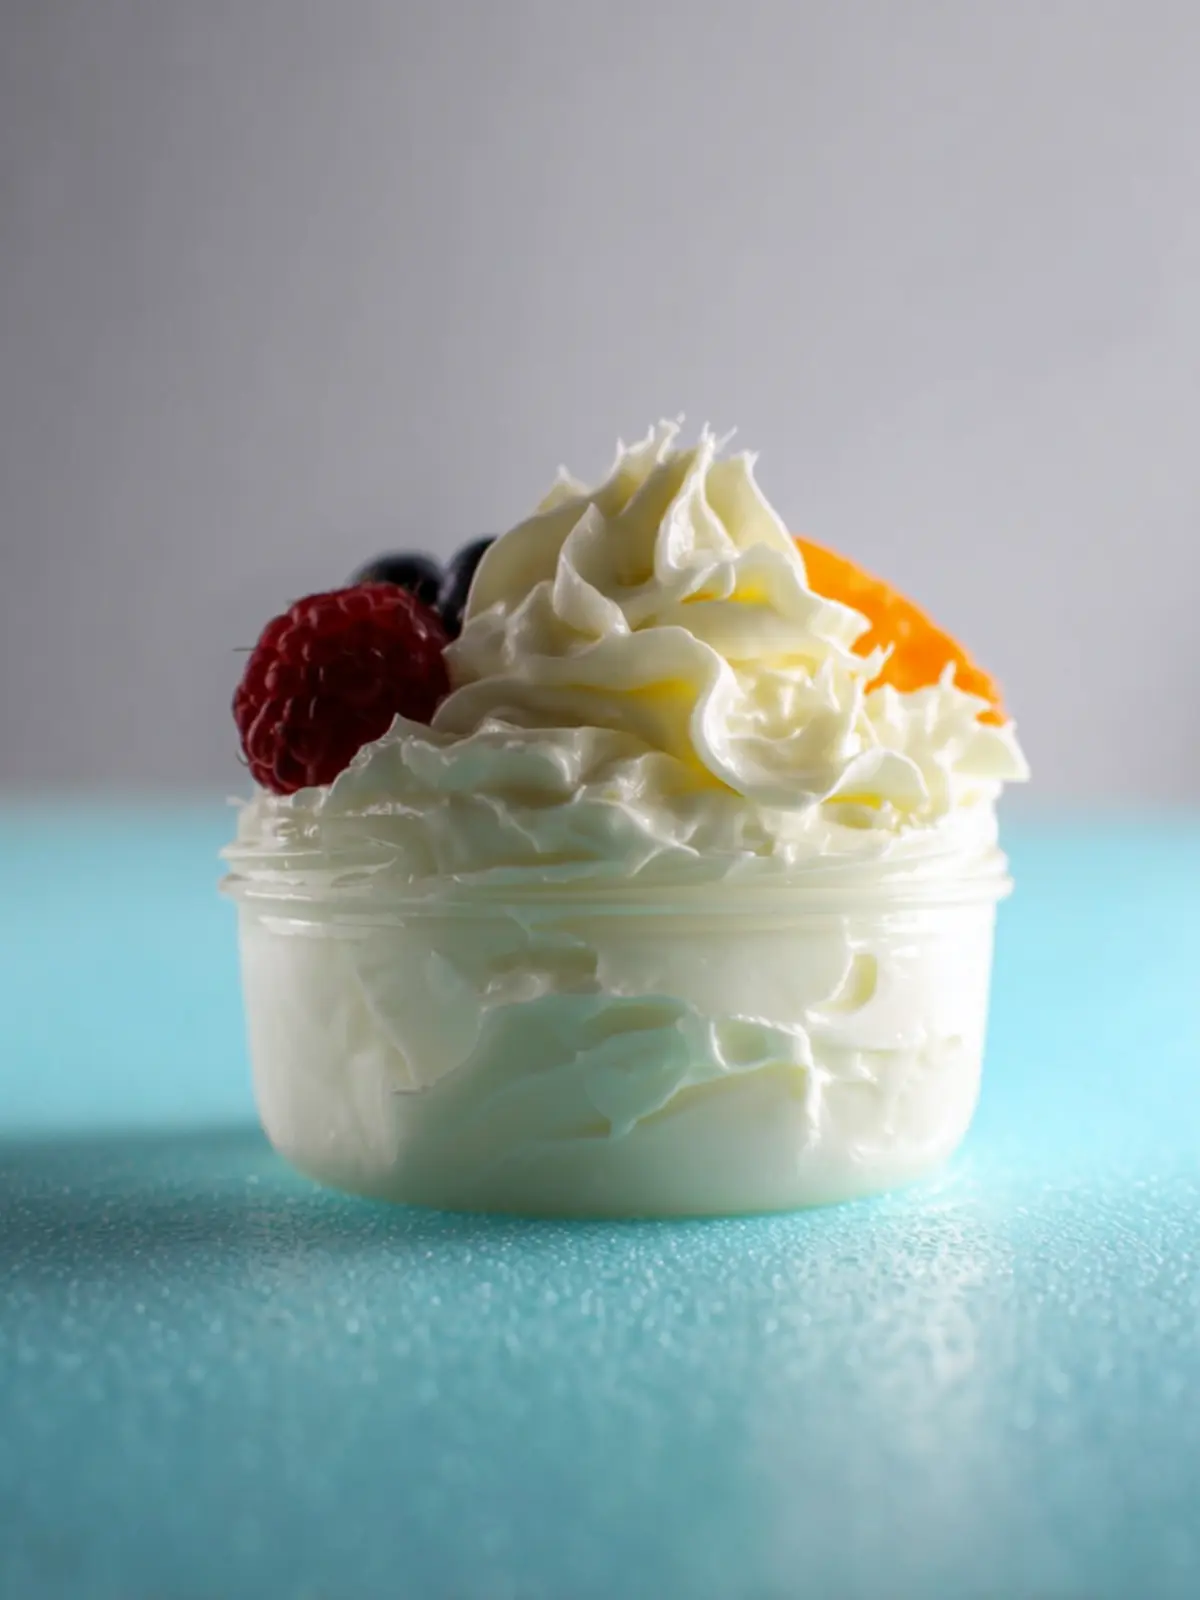
When you create your own homemade diaper cream, the options for how to use it extend beyond just soothing baby’s bottom. This gentle ointment can also be a multipurpose balm, making it a staple in your parenting toolkit.
- Apply fresh: Use immediately after changing diapers to keep the skin soft and protected.
- Soothing chafing: It’s great for treating minor chafing in toddlers learning to walk.
- Dry skin relief: Apply it on dry elbows or knees for extra hydration in colder months.
Ultimately, the versatility of your homemade diaper cream means it can be helpful in various scenarios. You’ll be glad to have it on hand!
Time Breakdown
Understanding the time involved in crafting your homemade diaper cream can be quite rewarding. You’ll know exactly how to plan your day!
Preparation Time
The preparation for your homemade diaper cream takes about 15 minutes. Gather your ingredients, set up your workspace, and follow the recipe steps to ensure a smooth process.
Infusion Time
Infusion time typically spans around 1 hour. This is when you let your oils blend beautifully with the beneficial ingredients, enhancing their properties for your baby’s delicate skin.
Total Time
In total, expect to invest about 1 hour and 15 minutes to create a soothing and effective homemade diaper cream. It’s a small commitment for a product that offers great relief!
Nutritional Facts
Creating your own homemade diaper cream not only gives you peace of mind regarding what touches your baby’s skin, but it also allows you to enjoy the unique benefits of each ingredient.
Key Benefits of Ingredients
-
Coconut Oil: Packed with medium-chain fatty acids, coconut oil has natural antibacterial properties, making it an excellent base that protects against diaper rashes. It also moisturizes sensitive skin.
-
Shea Butter: This rich moisturizer is known for its emollient qualities, soothing and nurturing delicate skin. It contains vitamins A and E, which promote skin health.
-
Beeswax: A natural barrier, beeswax locks in moisture while keeping irritants out, creating a protective layer on the skin.
-
Essential Oils (like Lavender): Besides their lovely fragrance, essential oils can help soothe irritation and add gentle antimicrobial properties. Always choose skin-safe, diluted options.
By understanding the benefits of each component, you ensure that your homemade diaper cream is both effective and safe for your little one’s sensitive skin.
FAQ about Homemade Diaper Cream
Creating your own homemade diaper cream can be a wonderful way to ensure your little one stays comfortable and protected from rashes. However, you might have some common questions about using and caring for this natural remedy. Let’s dive into some frequently asked questions.
Is it safe to use homemade diaper cream on newborns?
Absolutely! Most natural ingredients used in homemade diaper cream, such as coconut oil and shea butter, are generally safe for newborns. However, it’s always wise to test a small amount on their skin first. If any irritation occurs, discontinue use and consult your pediatrician. You can modify the recipe as needed to fit your baby’s specific skin sensitivities.
How do I store homemade diaper cream?
Storing your homemade diaper cream properly can extend its shelf life. Keep your cream in a cool, dark place, ideally in an airtight container. A small glass jar or a well-sealed plastic tub works perfectly. Be sure to watch for any changes in color or smell, as these can indicate spoilage. In general, if kept in the fridge, it could last up to three months.
Can I customize the scent of the diaper cream?
Absolutely! One of the great things about making homemade diaper cream is that you can customize it to suit your preferences. Adding a few drops of essential oils, like lavender or chamomile, can provide a gentle fragrance. Just make sure to choose skin-safe essential oils and consult with your pediatrician to ensure they’re suitable for your baby’s sensitive skin.
Creating your own homemade diaper cream not only gives you control over the ingredients but also allows you to tailor it to your child’s needs!
Conclusion on Homemade Diaper Cream
Crafting your own homemade diaper cream can be a rewarding and beneficial project for you and your little one. Not only does it allow you to control the ingredients, ensuring everything is safe and gentle, but it also brings a touch of personalization to your parenting journey. Imagine the peace of mind that comes from knowing exactly what’s protecting your baby’s sensitive skin from rashes. Plus, making your own cream can often be more cost-effective than store-bought alternatives. So, roll up your sleeves, gather the ingredients, and dive into this caring, creative endeavor. Your baby’s comfort is worth it!
Print
Herbal Infused Oil
- Total Time: 4-6 weeks
- Yield: 4 ounces 1x
- Diet: Vegan
Description
This herbal infused oil is perfect for a variety of skin care applications, combining beneficial herbs and oils.
Ingredients
Scale
- 1 cup carrier oil (avocado oil works well)
- 1/4 cup marshmallow root
- 1/4 cup lavender
- 1/4 cup calendula
- 1/4 cup chamomile
- 1/2 cup infused oil
- 1 tablespoon beeswax
- 3 tablespoons shea butter
- 2 tablespoons non nano zinc oxide
- 5–10 drops essential oil (optional)
Instructions
- Add each of the herbs into a glass jar. Pour the carrier oil on top of the herbs and screw on the lid. Allow herbs to infuse for 4 to 6 weeks, shaking every couple of days. Then strain. This is your herbal infused oil.
- Add the shea butter, infused oil, and beeswax to a heat-safe glass container. Slowly melt it in a double boiler or in the microwave, stirring frequently.
- Once completely melted, put the mixture in the fridge for about 30 minutes until it is fully hard.
- Put the mixture into a bowl and mix with a mixer. An immersion/stick blender works well for this, but you can also use a handheld electric mixer. Add in the non-nano zinc oxide. Make sure to mix it thoroughly.
- Add in the optional essential oils (if using) and stir once again.
- Pour into a 4-ounce glass jar or other container, and add the lid and a label.
Notes
- This oil is great for moisturizing and soothing the skin.
- Store in a cool, dark place to extend shelf life.
- Adjust the amount of essential oil according to preference.
- Prep Time: 5 minutes
- Cook Time: 30 minutes
- Category: Skin Care
- Method: Infusion
Nutrition
- Serving Size: 1 tablespoon